This post may contain affiliate links.
At home my kids love making slime. They’ve become very good at it and have made some slime that even I can’t help but play with. Since my kids had so many collections of slime, I took some into my classroom and, as I’m sure you could guess, it quickly became the highlight of our center time. It also quickly lead into this slime project for kids.
There are countless slime recipes available online. This post is all about my experience, and suggestions in creating slime with almost thirty 3-5 year old’s in the classroom. I brought the slime in, on one occasion.
At the end of the year I asked students to tell me what their favorite activities and centers were that I did with them during the year. My plan was to bring back their favorite centers for them to explore and play with again before summer.
I should not have been as shocked as I was, when almost every single child told me that their favorite was the slime. I knew I needed to figure out a way for them to each create their own slime. It may sound like a huge undertaking with a large group of young kids, but it was a very successful morning that we all enjoyed.
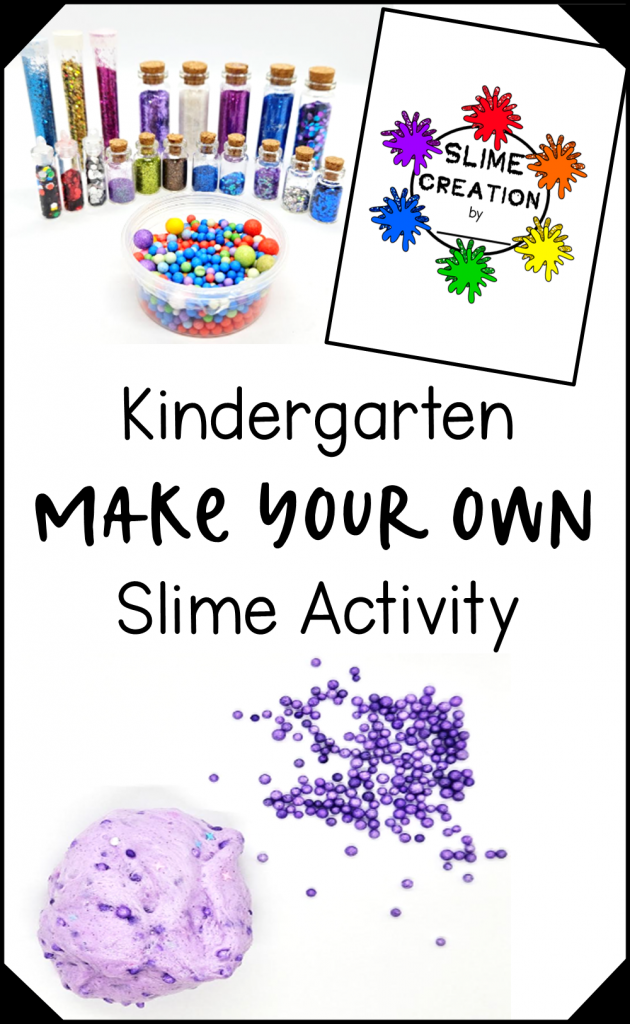
Below is everything we did in our classroom on our slime making day to send a one of a kind jar of slime home with with every child, along with a huge smile on their face.
We notified parents before our slime making day. Firstly, this let them know that there would be slime coming home in their child’s bag that night. Secondly, so that children were dressed for mess!
Slime Project for Kids Materials
You can find lots of recipes online using different household materials. You can use any ingredients you want for your slime. I purchased slime activator instead of mixing to create activator. Since we were doing this slime project with so many young children, I wanted the steps to be as fool proof as possible.
To create the slime, you will need:
- Glue (White glue or clear glue)
- Activator
- Clear Containers With Lids (one for each child)
- Popsicle Sticks
- Sparkles, Foam Balls (Plus any other slime mix-ins)
- Paint
- Slime Creations Label (Free download below)
Preparing Materials – Slime Project for Kids
The best way for to make slime successfully with a large group of young kids is to be prepared.
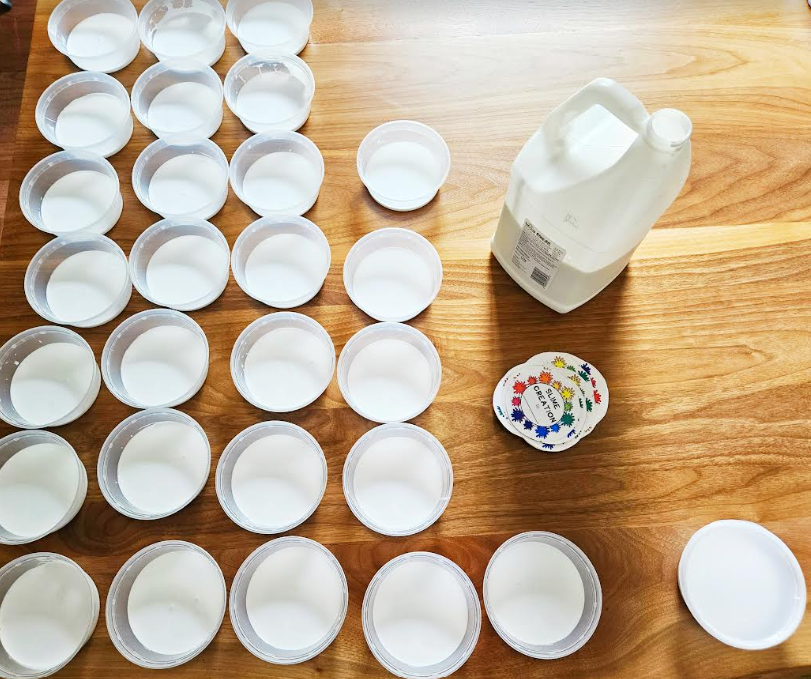
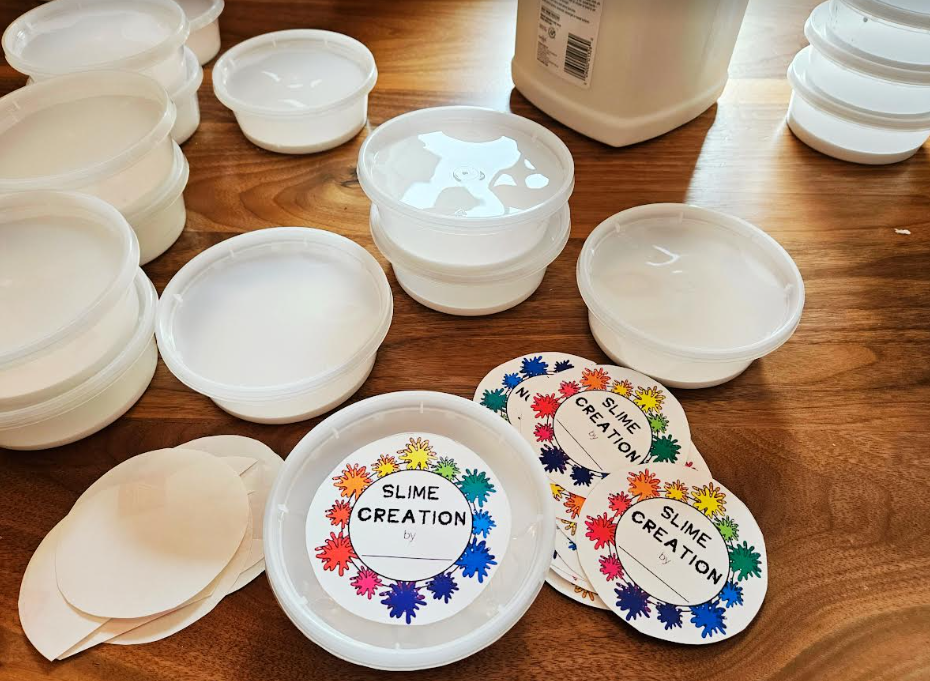
Before making the slime with your group, pour glue into a container for each child. Making sure you have a small container for each child to take home keeps mess to a minimum. Children will mix and create their slime in the container and then seal it when they are done to take it home.
I filled each container half full. You will need to check your recipe for how much glue you need to mix with activator for each child.
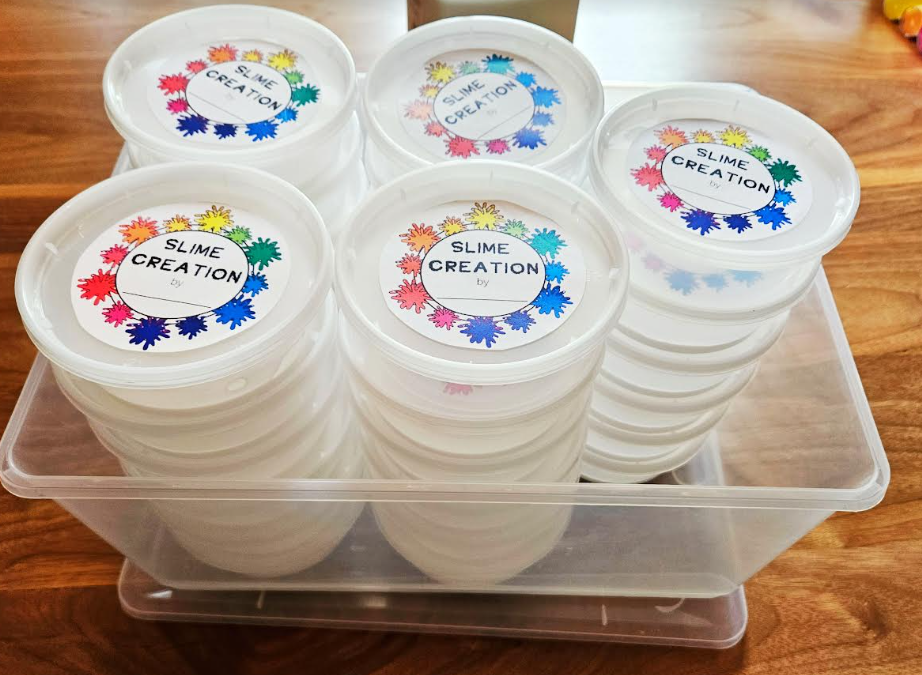
Make sure to not fill the containers too full since children will be mixing more materials into the glue and mix it in the container.
Stick a Slime Creation label on top of each container. I used sticky paper to print my labels, but you can simply tape or glue your label on.
Making Your Slime
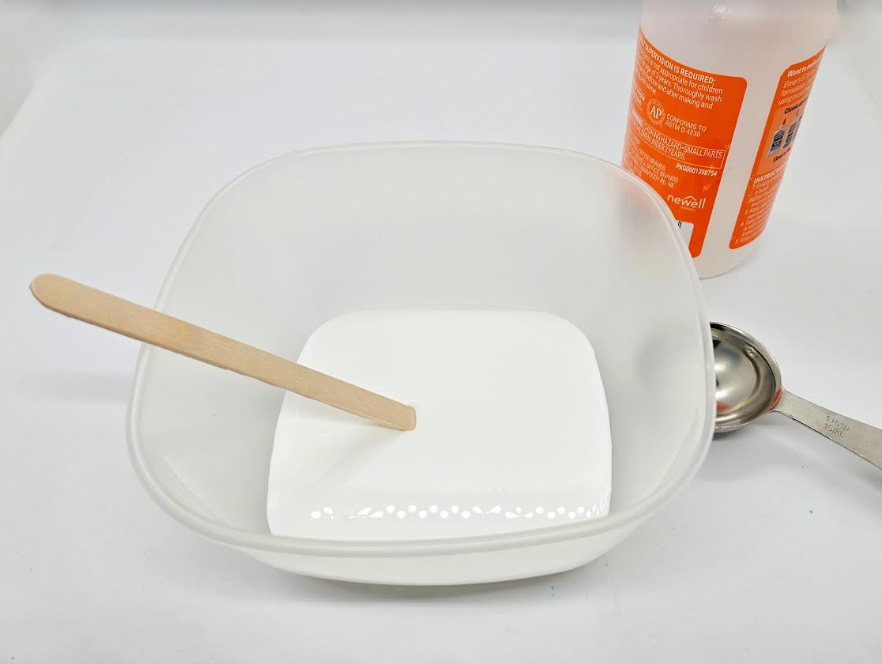
Once you have your glue measured and ready for each child, give kids a popsicle stick and pour the activator into their container. Next, students begin stirring.
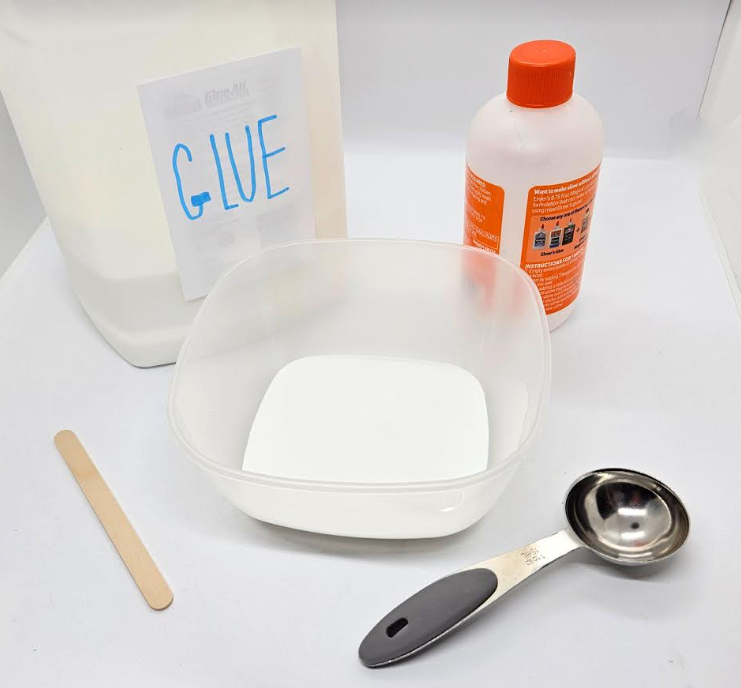
Once their mixture starts to stick together and turn into slime, they’re ready for the next step. However, slime often doesn’t turn out perfectly on the first try. We walked around the classroom as kids mixed and added activator as needed.
Adding Color
Once students mixture is slime, the next step is to add some color.
One of my favorite parts of this slime project for kids, is that each child can make the exact slime they want. Every single slime in my class was a little bit different from the other.
The color and materials to mix in makes each slime special to the child.
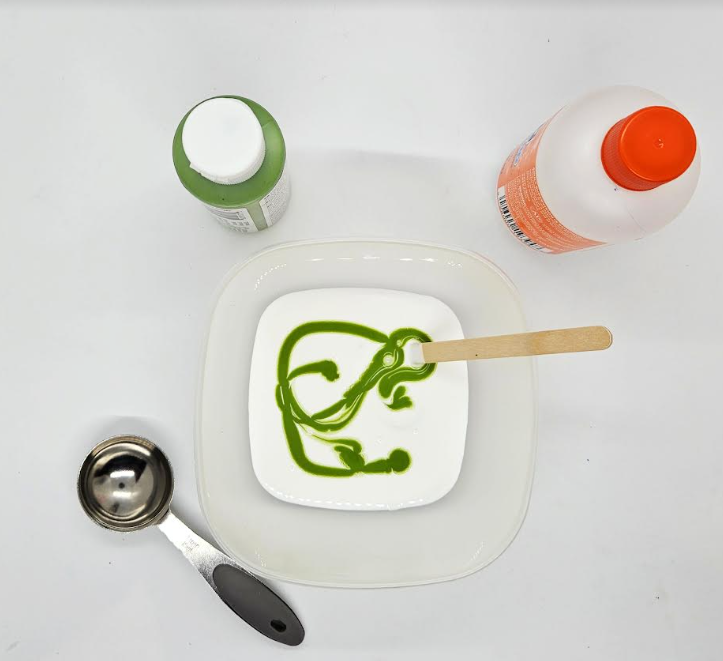
We used paint to add color and from my own children’s experiments, paint works best. However, you can also use food coloring. Start with a few drops. The more paint you add, the stronger the color will look in your slime.
Add a few drops of paint to kids slime in their container. They will continue mixing with their popsicle stick. Kids can mix their slime with their hands at this point, but the popsicle stick cut down on a lot of mess and colored hands.
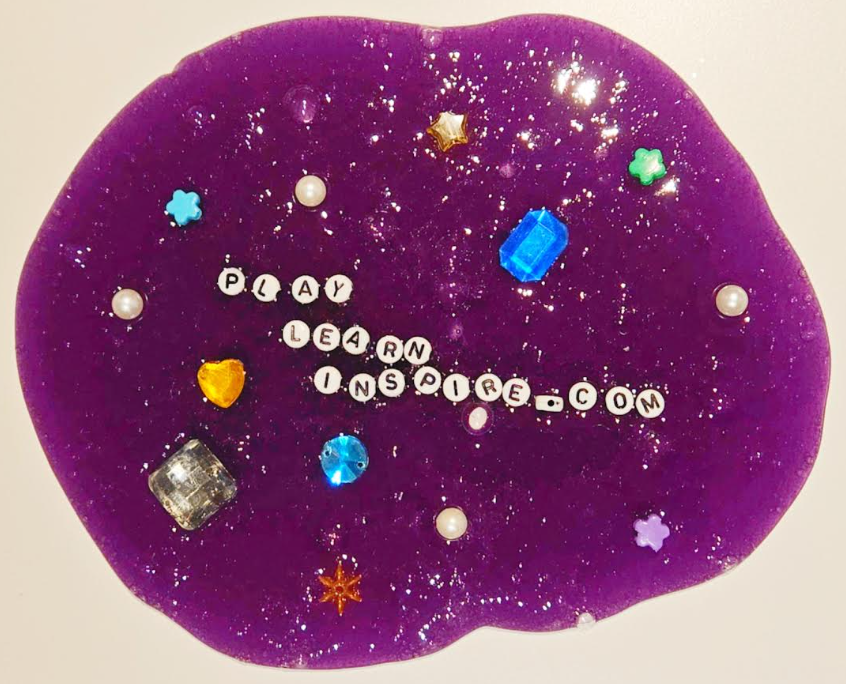
Once the paint is fully mixed in, offer children the sparkles and other mix-ins. I was able to find a bunch of small containers, each with different sparkles or little beads. I had enough that each child was able to choose two containers. This helped avoid some mess and made it easy for everyone knowing they got two choices.
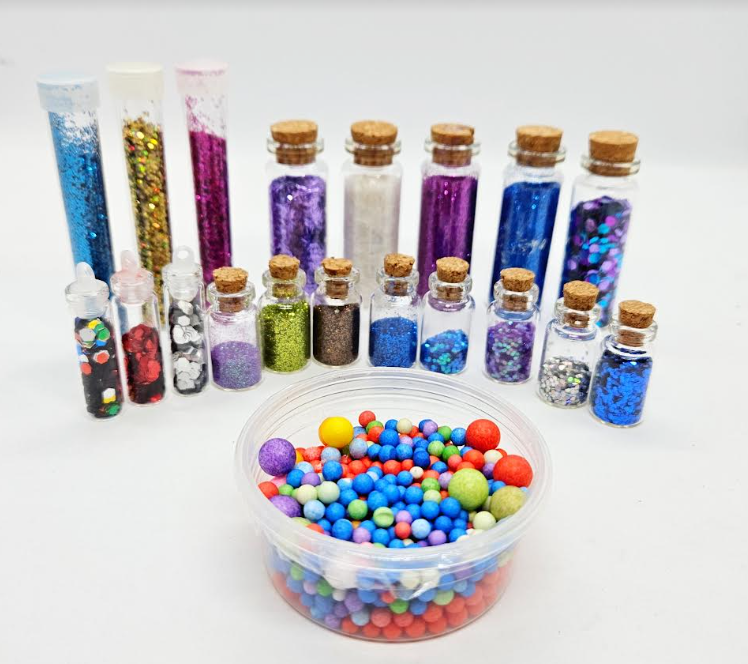
Children chose their containers and added it to their slime, and mixed!
At this point, the slime should be mixed enough that as children stir, it creates a ball of slime within the container. Once it does this, the slime is ready and children can remove it from the container to play with.
We gave kids lots of time to play with their slime on their tables and simply enjoy what they made all by themselves! They were really excited to show their parents.
Slime Project for Kids
The above steps created wonderful slime and everyone was successful. If you have a group that you feel you could add something extra to your slime making day, below are a few ideas for you.
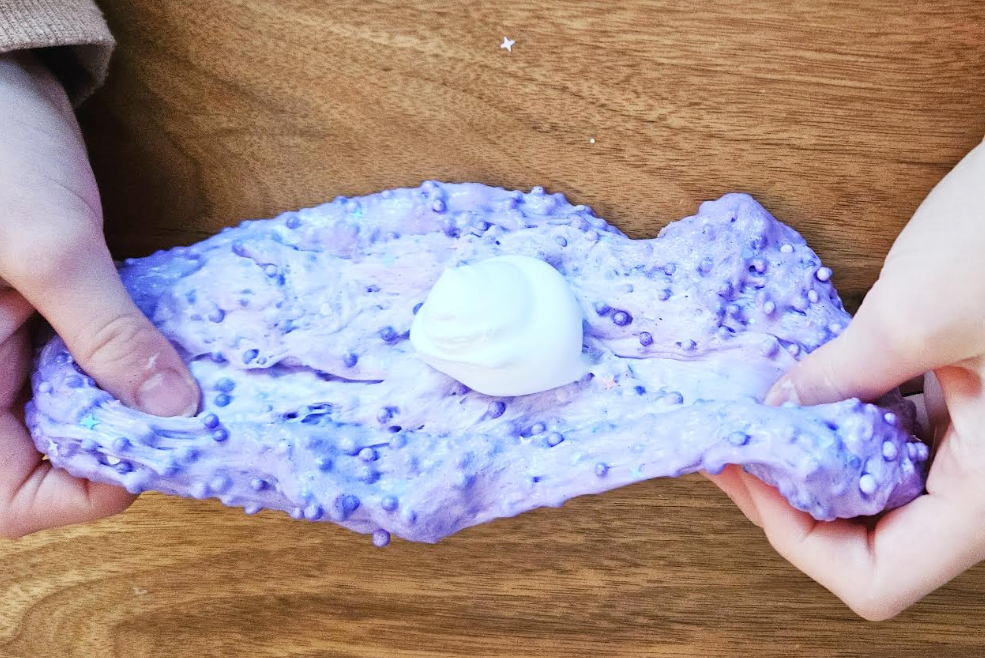
Once slime mix-in that my kids love to experiment with, is adding shaving cream. This creates a super fluffy slime. Simply add a squirt, roughly half a cup, of shaving cream and mix. As you mix, you may feel like your slime is breaking apart a bit, but keep mixing and it will come back together.
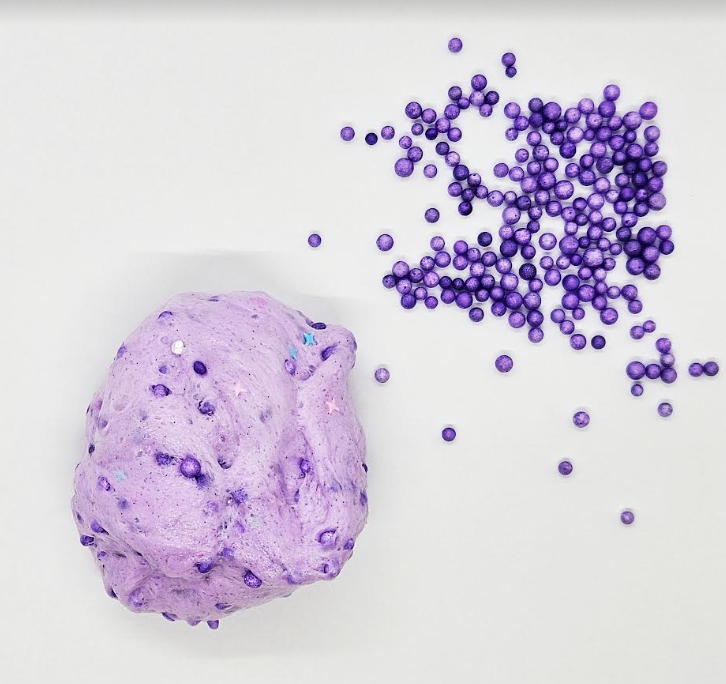
You can also choose to use clear glue for your slime. This creates almost jelly like slime or see through. If you have a smaller group, you could let children choose if they want the clear, white or even fluffy slime!
If you have a big group of young children, I suggest keeping it simple. However you make your slime, the kids are going to love it!
Slime Project for Kids – Tips
I would absolutely do this slime project for kids again in the future. There was very little mess and every child was successful. They also learned a lot as they watched their glue and activator come together to make slime. They loved adding their mix-ins and feeling the way their slime felt.
It’s a great end of the year project and a great sensory experience for kids of all ages. There are lots of ways to change your slime to make it different, including scents and other mix-ins.
When mixing the slime, if it is too wet, add more activator. If it’s dry, add more glue. Small amounts at a time are best.
One of the best ways to prepare for your slime making day in the classroom is to create your own slime at home. Follow the steps suggested above, and mix and play around with the materials before giving them to your students.
You can also place activator on the table and give children eye droppers to add the activator to the glue. This can get messy, but if your group is a bit older, they will love being able to add the activator themselves.
Free Slime Label
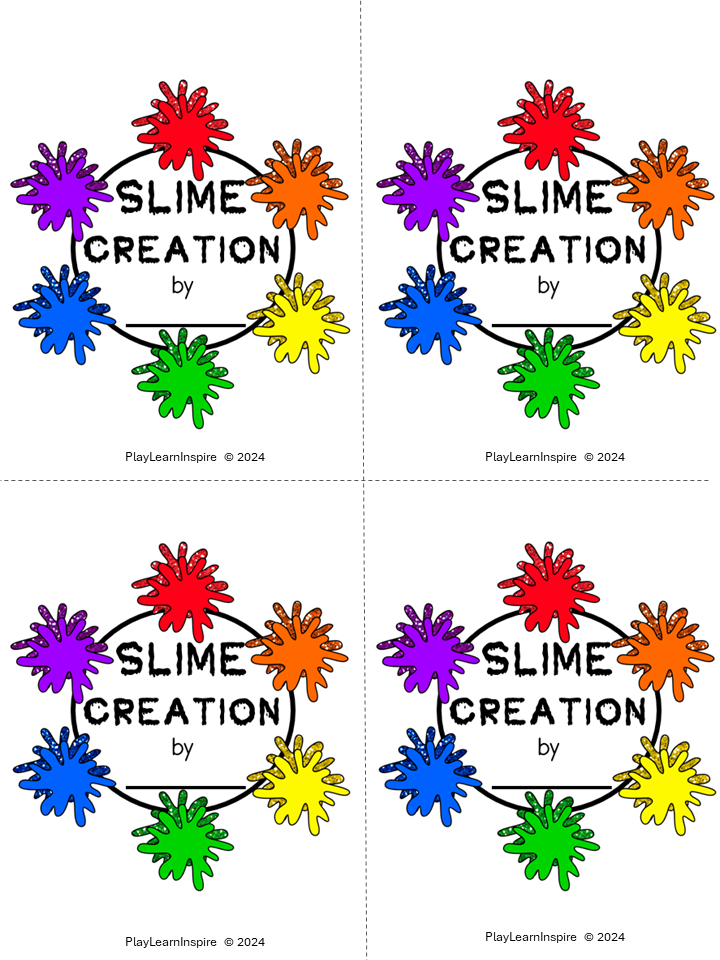
Make sure to download the free printable “Slime Creation” label for your students slime. It’s colorful and includes room to print each child’s name so that no slime gets mixed up.
