This post may contain affiliate links.
Spring is a great time to try something new! From eggs and birds to butterflies and flowers, spring brings many beautiful things. This spring, give young children the opportunity to create something using plasticine with this spring craft for kindergarten, and beyond. Try a few unique tricks to help children be successful with their creation.
This is a great activity to try with children of any age. The older the children are the more detail they can add to their creations. Young children will also feel successful because they can do the craft in a simplified way, and create something beautiful.
I love everything about the kindergarten program in my school board. The program is play based and inquiry based learning. We strive to provide freedom when children learn by letting them explore and create something that interests and excites them.
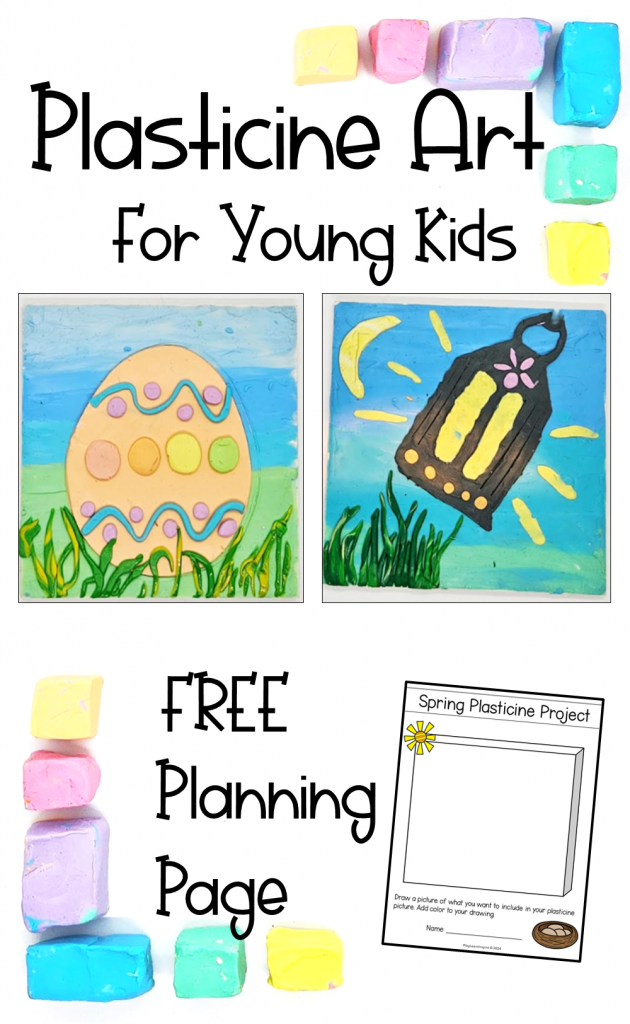
This spring craft for kindergarten provides this type of hands-on learning. Children are given the materials, but they can create their art in any way they want. They can use any color combination and even any image. It’s amazing to see what they will come up with and wonderful to see how different each child’s art turns out.
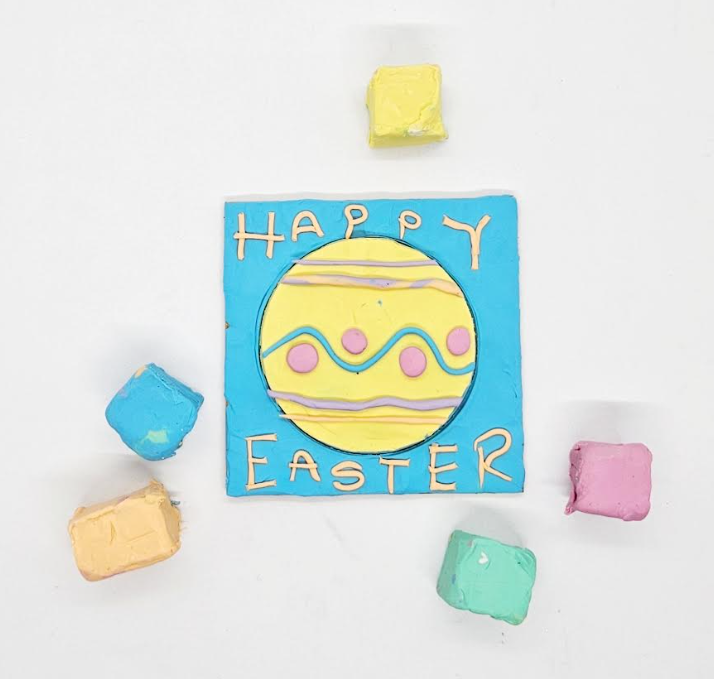
This is also a great art project for Easter because young children can use cookie cutters to create an adorable Easter egg from plasticine.
Spring Craft for Kindergarten Materials
There are only a few materials you need for this spring craft:
- Plasticine/Clay
- Wooden Board
- Cookie Cutters (optional)
- Toothpicks
Although cookie cutters are optional, they are also what helps guide younger children with this project.
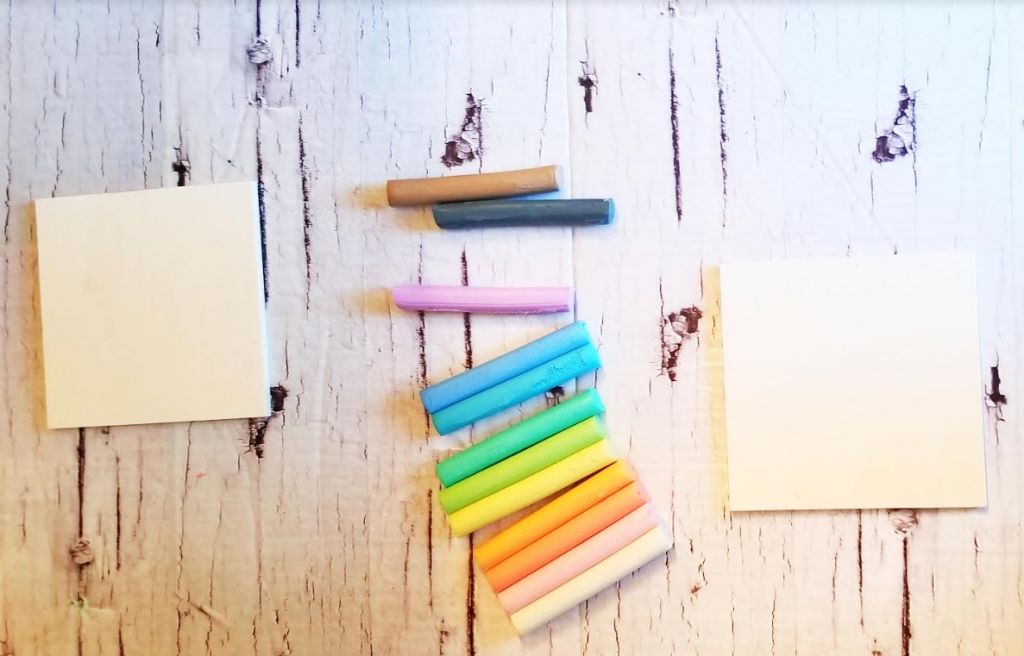
The wooden board is ideal because it is hard and can hold the weight of the plasticine. However, you could simply use paper and then place the project on a hard surface.
If you have a group that has never worked with plasticine before, Hands-On Teaching Ideas offers a plasticine mini unit to introduce kids to this art material. Using the plasticine for a few days before this project can also help children become familiar with the plasticine and how to work with it.
Spring Craft for Kindergarten
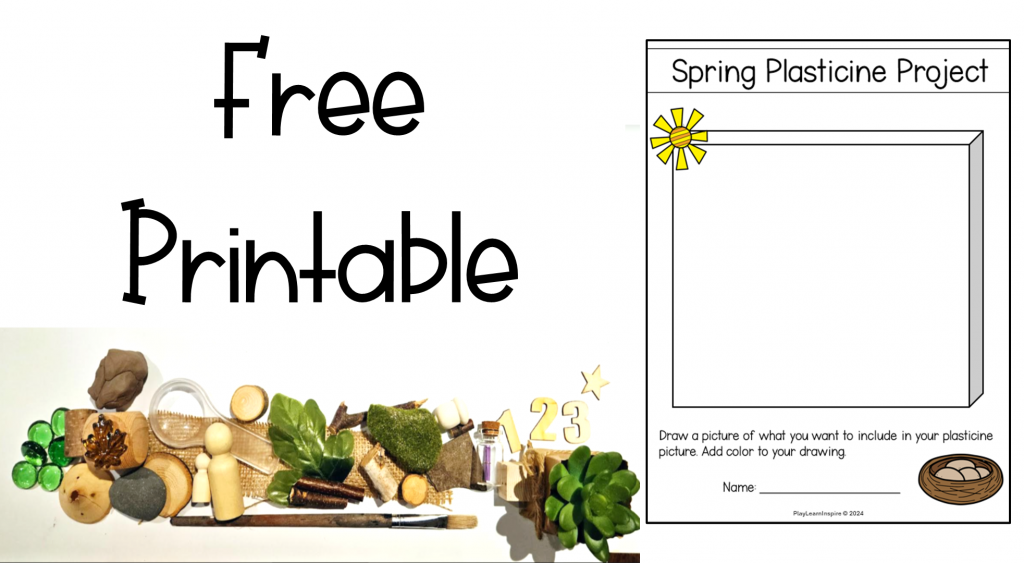
A free planning template is available for free download below. This is a great opportunity for children to think about their project before they start creating.
Give each child a copy of the “Spring Plasticine Project” page and show them the materials they will have access to (cookie cutters, plasticine colors).
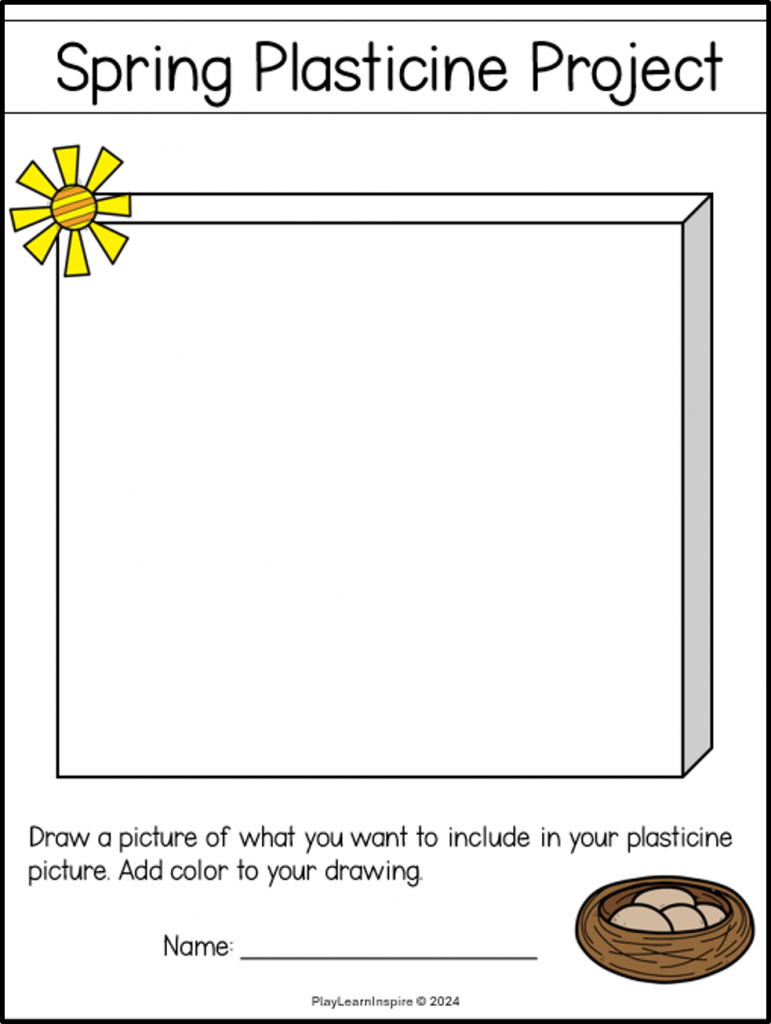
Young children can even use the cookie cutters as they plan by tracing the cutter on their planning page.
Getting Started
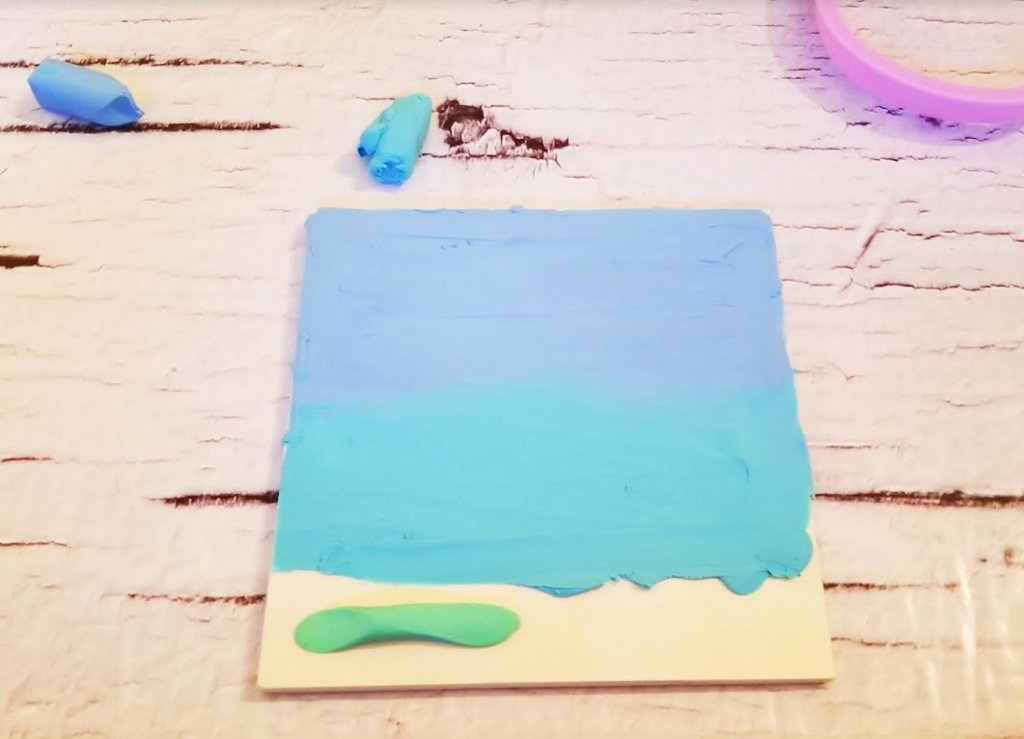
Start by having children choose a color of plasticine for the background. If they’re doing a more detailed picture, have children start with whatever object or part of the picture would be farthest in the background, such as they sky.
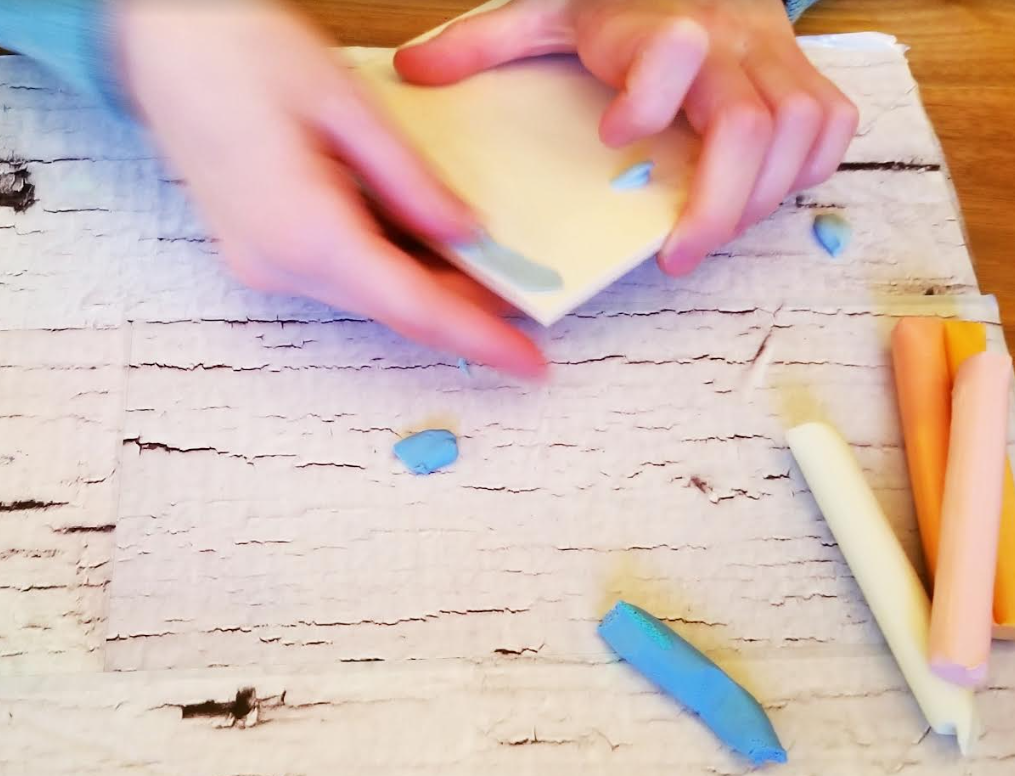
Smear the plasticine across the wooden square. Cover the entire surface of the wood. You can use multiple colors for this background.
Spring Craft for Kids – Prints
Once the background is done, bring out the cookie cutters. The cookie cutters allow young children to create a print on their background that they can then fill in to to create an image.
The example below is of a simple green background. Children can create any background they want for their picture.
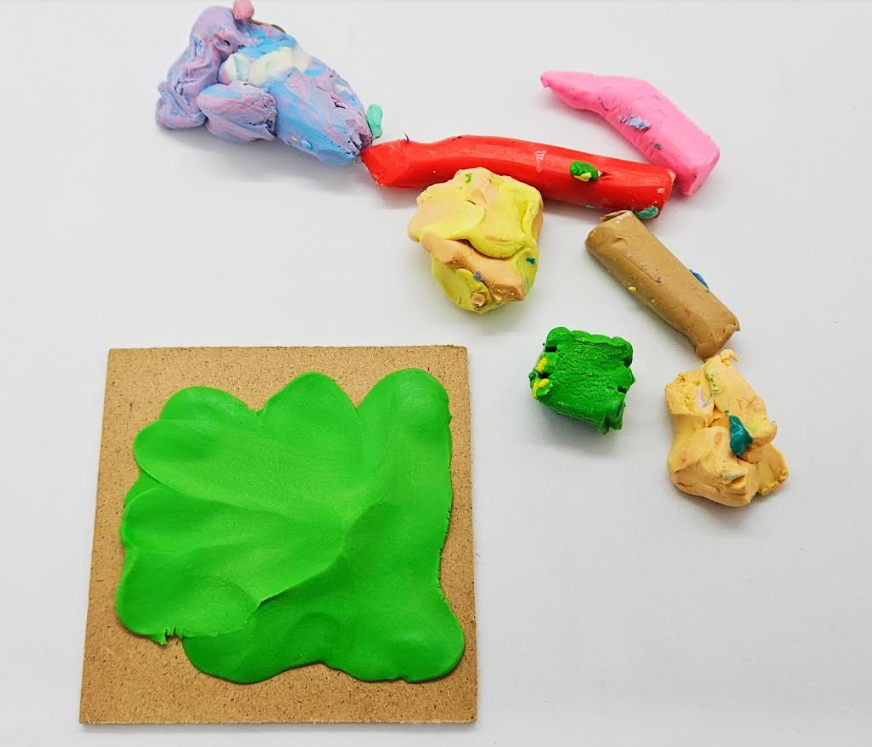
Simple circular cookie cutters are great for creating eggs for spring. Children do not have to use the cookie cutters, however, I found when creating these spring craft with kindergarten children, the cookie cutters really helped.
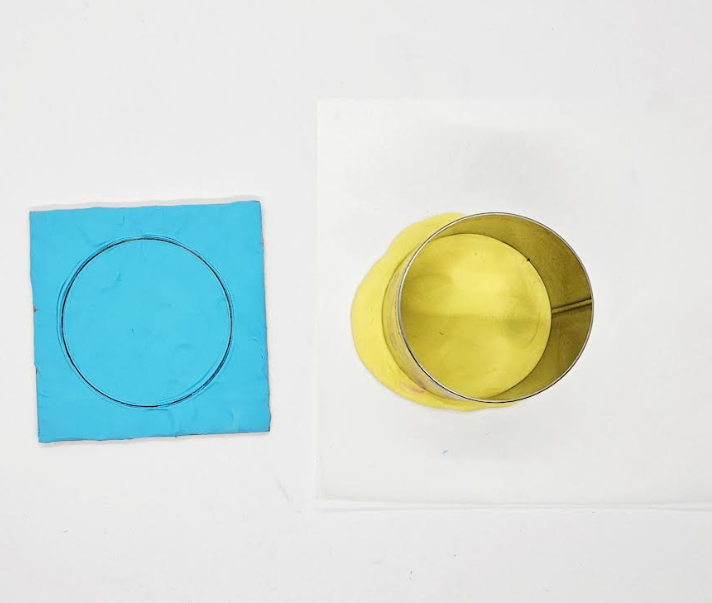
Have children press the cookie cutter into onto their background to make a print. They can create as many prints as they want to make their picture.
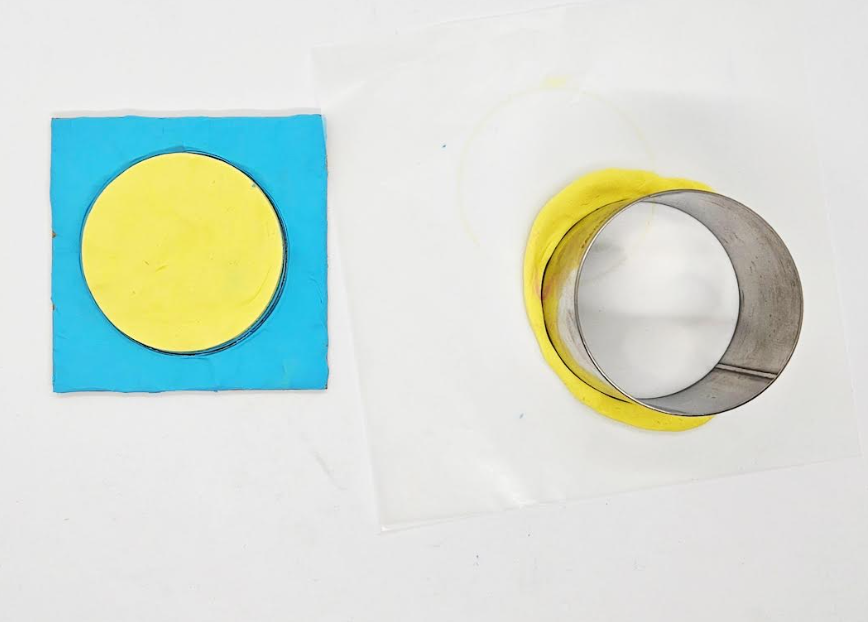
Once a print has been made, children can either fill it in with the plasticine, or press the cookie cutter into plasticine and place the cutout onto the background.
The cookie cutters work well to create clean shapes for children to then cover and fill in.
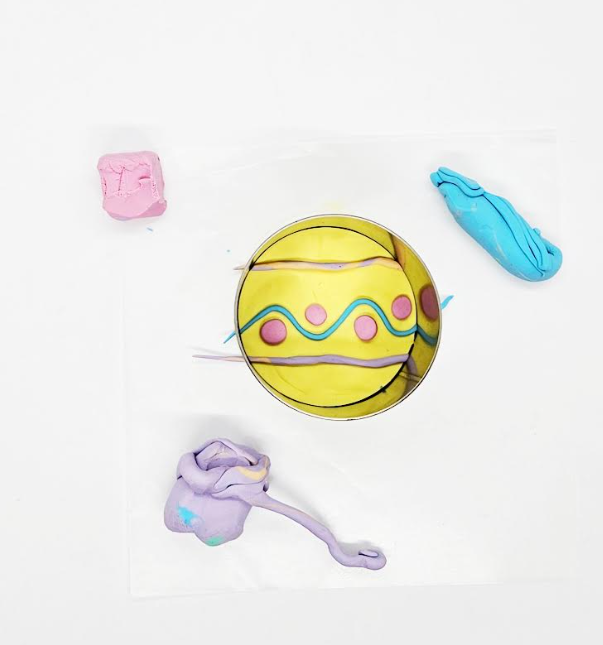
Spring Craft for Kindergarten Result
Once the shapes have been created, it’s time to add detail and special effects. Roll out the plasticine, add different colors and lines.
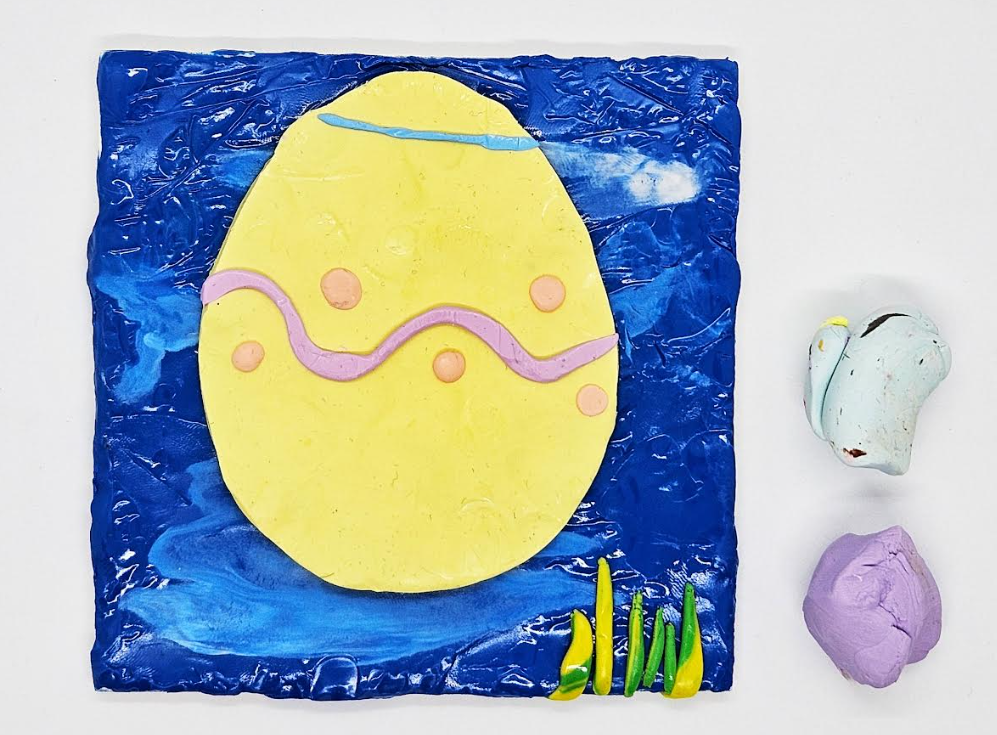
You can also use toothpicks to scratch marks into the plasticine to add small details. Some students rolled a mix of green shades of plasticine together and stuck the rolls of green onto the plasticine background to look like grass.

Give children lots of time to create and add to their design. You can provide toothpicks to children to add scratches and details as well.
Spring Craft for Kids
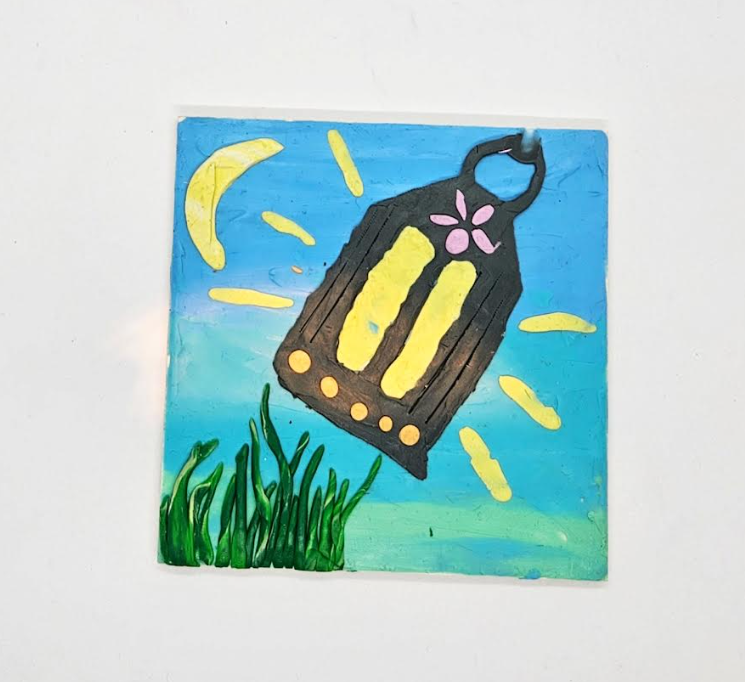
The final designs will be beautiful and the kids will be very proud of their creations. You can create a picture for any season or celebration. I gave my kindergarteners the choice to create any image they wanted.
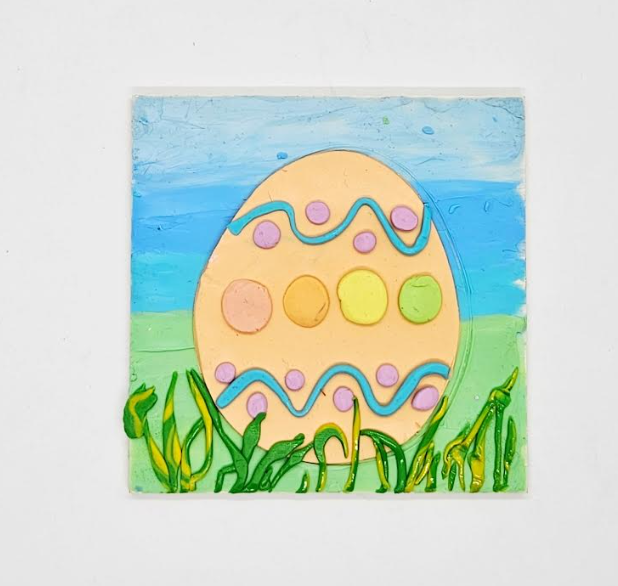
Eggs for Easter, or spring are easy and were popular. They also give kids lots of options for how they want their egg to look.
Other options are having children create the first letter of their name, a family portrait or simply an abstract collection of lines and shapes. It’s up to you!
For older children, they can create a series of plasticine images!
Whatever you create, it a great way for children to explore using plasticine and playing around with what they can make with it.
Free Printable
Click the image below to download the free printable planning template. Have children consider what they will create with the plasticine before they start creating. This can also help you supply colors and materials they require.
