This post may contain affiliate links.
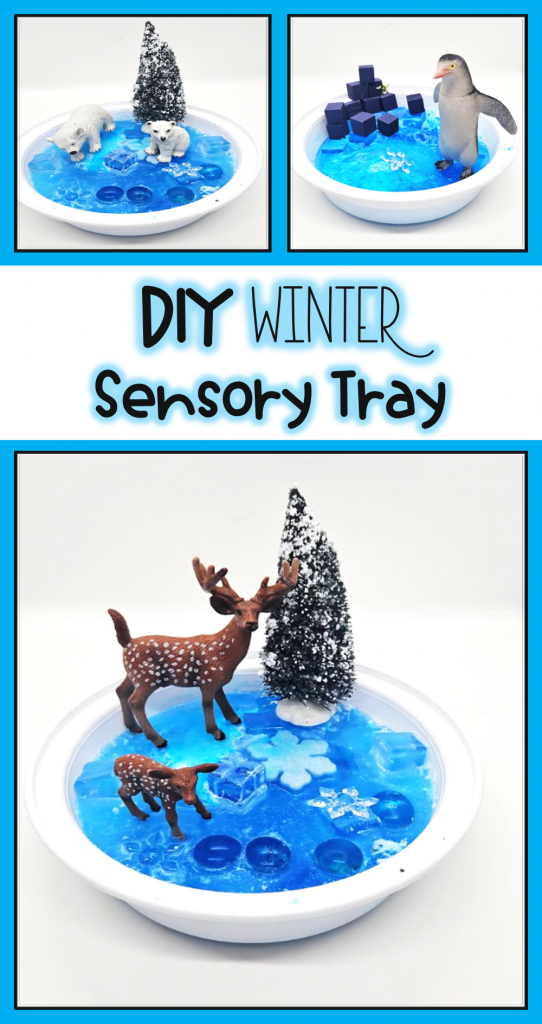
When I play my centers each day for my kindergarten classroom, I always try to include a sensory activity. Whether it is something as simple as a playdough activity or more complication like a sensory walk, it is always a favorite center. After our first snowfall a few weeks ago, I knew I had to start bringing some winter themed centers to our classroom. This DIY winter sensory tray was a huge hit!
It’s easy to create and set up and uses really simple materials. Another great thing about these sensory trays is that you can store them in a freezer after use to use again and again. Or if your area has lots of snow, you can always store it outside!
Young children tend to love playing with different textures and materials. These trays look really interesting and appealing to children because there is so much added to each tray before even adding the animals another small world play items.
If you’re looking to fill your classroom or home with more hands-on winter activities check out the popular collection of 43 Easy Winter STEM Activities from Hands-On Teaching Ideas. Or try a different spin on winter sensory bins with a winter sensory walk where children experience favorite winter items barefoot!
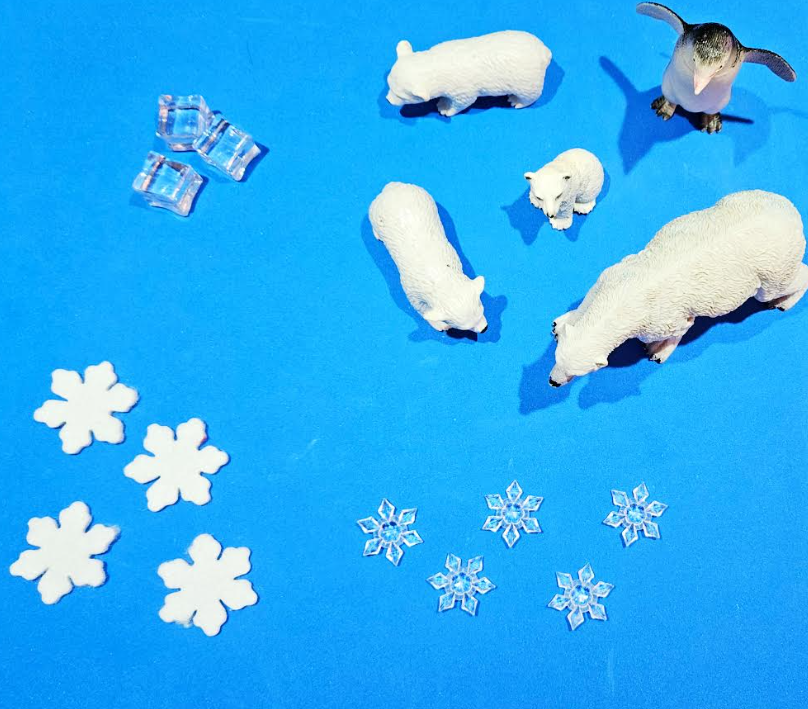
DIY Winter Sensory Tray Materials
Grab a collection of materials from around your home or classroom for this easy, and exciting sensory activity. You can make your tray anyway you want to, so if you don’t have some of the materials, don’t worry, you can make it without using everything I suggest.
You can use:
- Large Bin or Small Container
- Water
- Blue Food Coloring
- Shaving Cream
- Plastic Ice Cubes
- Glass Containers
- Plastic Arctic Animals
- Gems
- Felt Snowflakes
- Ice Cubes
Once you have your materials, you’re ready to start. Although this sensory tray is easy to create, it does take awhile to make. You have to leave time for the water to freeze in the bins before using. Where I live it’s freezing outside, so I was able to leave it out overnight. Otherwise, the bins can be placed in a freezer.
Creating Your Sensory Bins
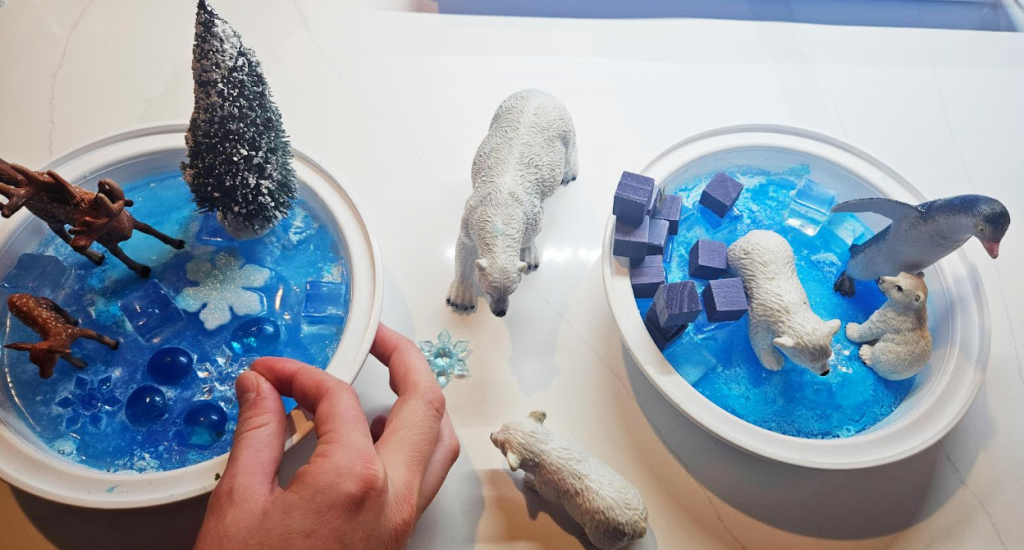
Initially for this center, I used a really large and long bin. This allowed multiple children to play together in one space and one bin; however, I later found that creating several small bins was just as much fun for kids.
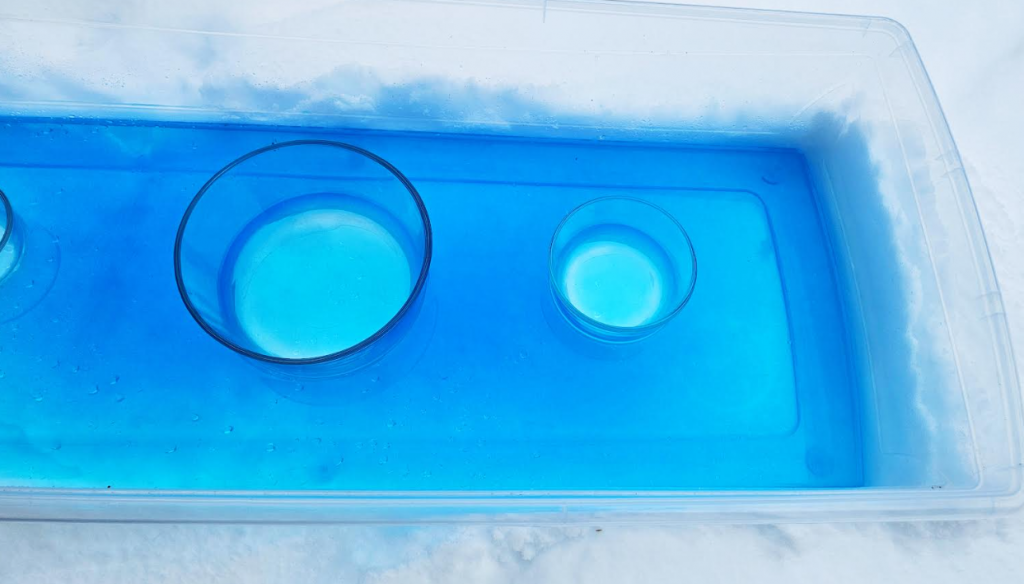
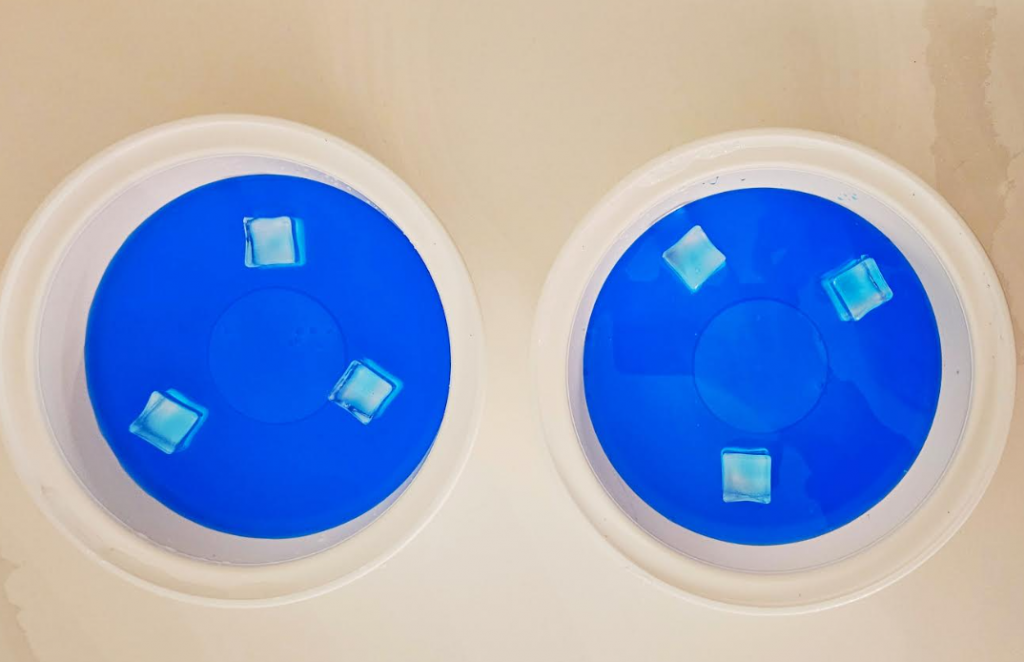
Start by filling the bottom of your bin with water. Next add several drops of blue food coloring to make the water appear blue. In this water, add a few heavy containers to create holes in the ice once removed. Glass containers work best because they are heavy and will stay on the bottom.
It is best if you can place this water outside to freeze first to create your first layer. If you don’t want several layers, you can add felt snowflakes, sparkles or gems right into the water to freeze.
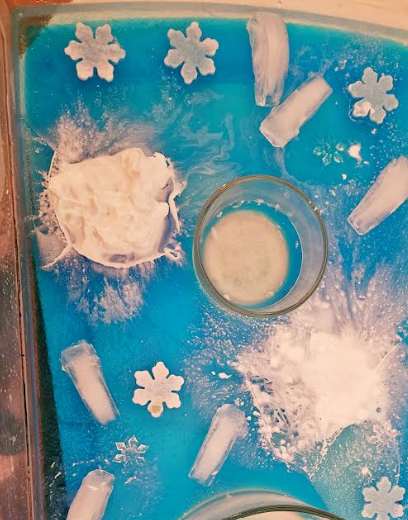
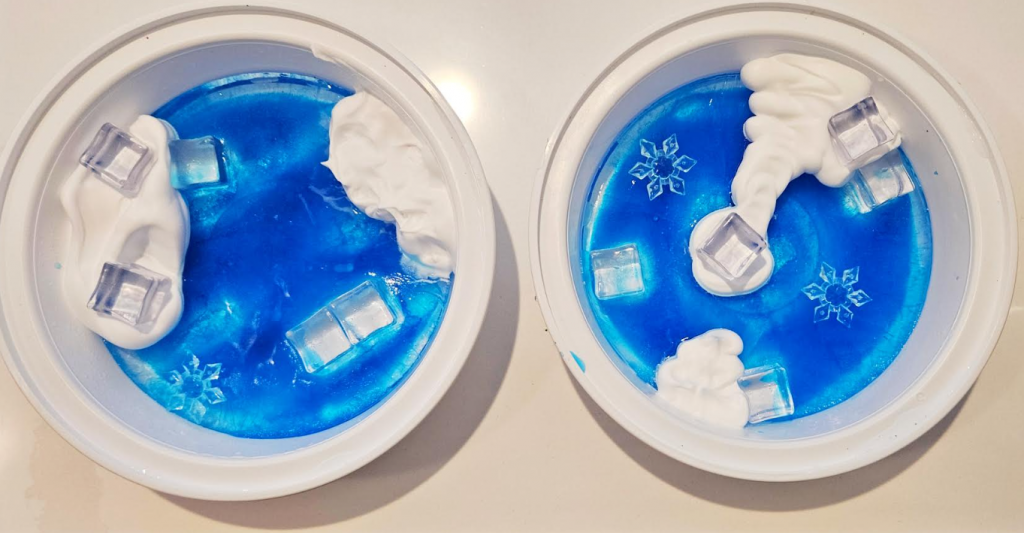
If like the idea of layers because it looks really interesting once all of the layers have frozen. The second layer can include a few ice cubes, felt snowflakes and even some shaving cream. Allow some time for the shaving cream to freeze and then add a small thin layer of water. This water can also include dark blue food coloring.
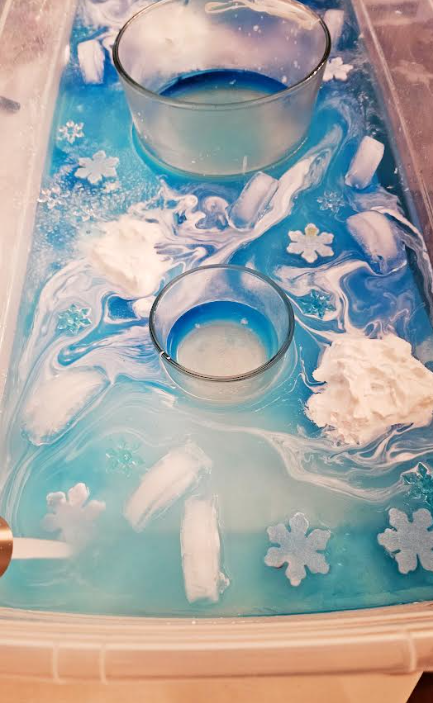
The thin layer of water will create swirls with the shaving cream. It makes it look like a true winter wonderland! Once everything is frozen, you can remove the containers and add gems or animals in the holes within the ice.
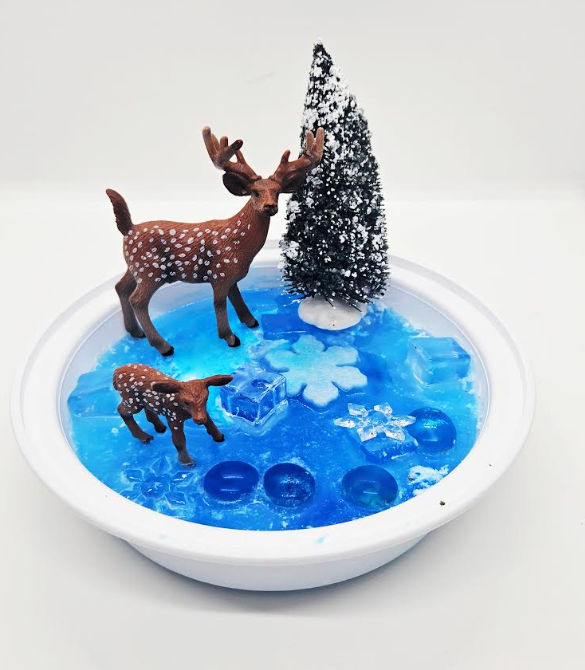
Mini Winter Sensory Trays
My students loved the large sensory bin, but I later created mini sensory trays and they loved these too! They loved having their own personal arctic world. These are created in much the same way. Add a bit of colored water and wintery items and let it freeze.
Children will play and pick at the ice. They love finding the different treasures within the ice. This is all part of the experience. Once each tray is frozen solid, you can add different items to the top for kids to play with.
Winter Sensory Bins
Small World Play
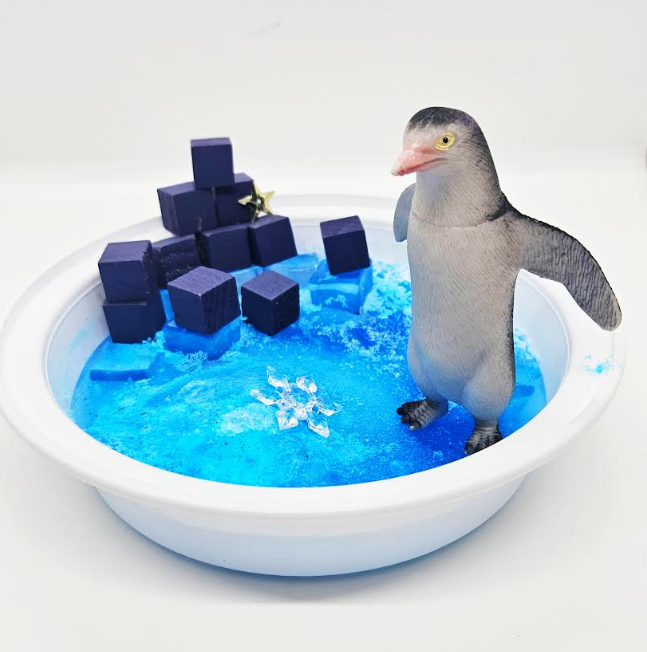
Children’s imagination will run wild with these small world play trays. By adding something simple like a polar bear figure or wooden blocks, children will create and play.
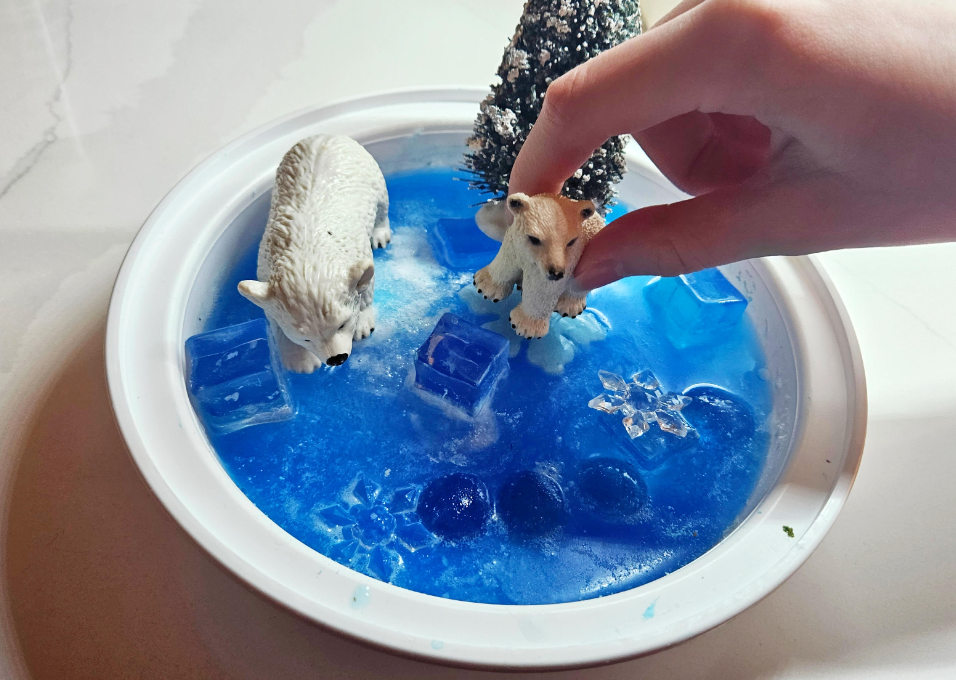
The animals will tell a story and children will share and interact with their peers sensory trays and animals. Over time the ice will begin to melt a little, creating a layer of water for their animals to splash and play in.
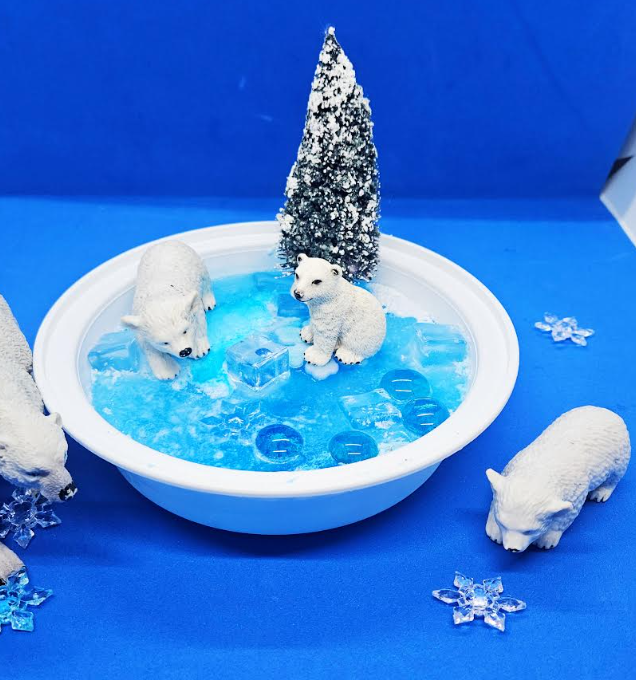
These sensory trays teach children the animals and items they’d find in cold, or arctic climates. Children can build igloos and small worlds for their animals to exist.
If you place items in each layer, and freeze them between the layers, children will also have a blast trying to get them out or finding them as each layer melts.
This was such a fun winter activity in my classroom and the trays are really appealing to young children. I hope you get a chance to create a winter sensory tray for kids to play with in your classroom or home.