This post may contain affiliate links.
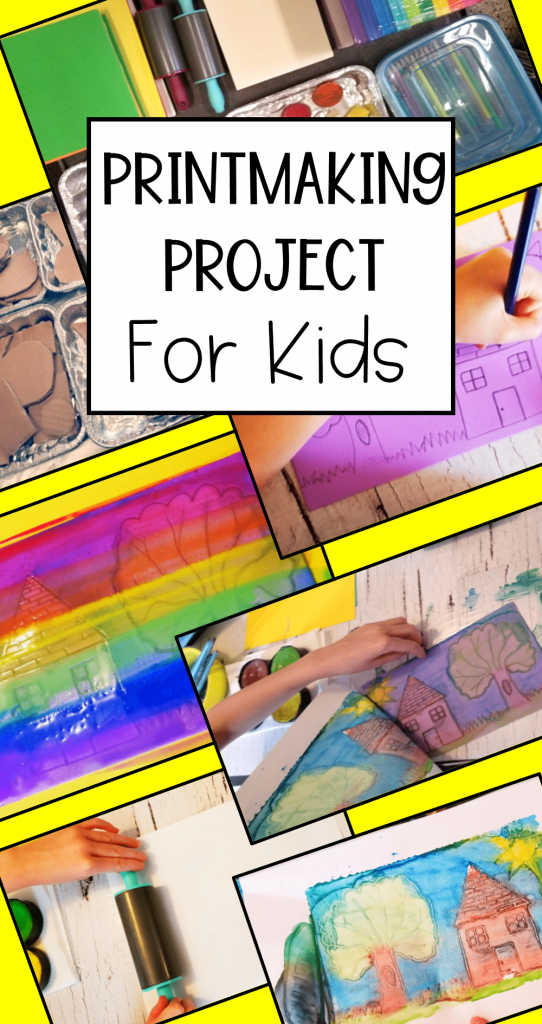
I have taught a lot of art over the years. From kindergarten to grade 8, I had planned and done countless projects and activities with kids. I love teaching art. It’s a subject that children look forward to and the possibilities are endless for what you can introduce children to. One of my favorite projects over the years is this Easy Printing Craft for Kids.
In my art program, I try to introduce my students to as many types of art as possible. I love simple marker and construction paper crafts, but there are so many more options available that are simple to do. I love the idea of printmaking, so I came up with a way for my students to create their own prints and explore the art of printmaking, but without the expensive special materials. This project has become one of my favorite art activities that I try to do every year.
Although I have to be mindful of materials costs for projects that I do with my class, this is an exciting project without the price tag. Most of the materials were things we already had on hand in my room. I also love this project because it is an easy project that combines simple materials to make something special.
Easy Printing Craft for Kids
Materials
You don’t need a lot of materials for this project and most are inexpensive. You will need:
- Cardstock
- Watercolor Paints or Other Liquid Paints
- Foam Sheets
- Paintbrushes
- Rolling Pins and Printmaking Roller
- Pencils
- Cardboard (Optional)
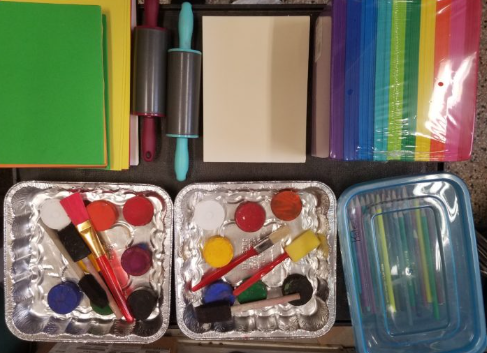
Cardstock paper works best for this project because it is slightly thicker. However, regular computer paper will also work.
If you don’t have rolling pins, don’t worry you can still easily do the project. They are fun to use and give kids a better feel for actual printmaking, but you can simply use a book or something flat to press on the print to transfer the image.
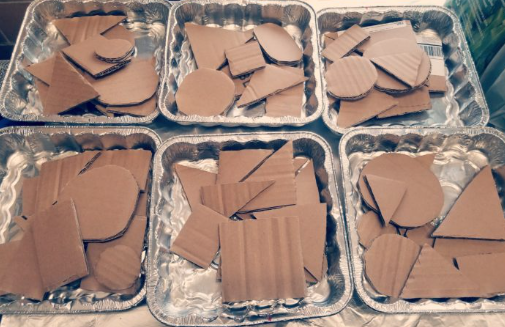
My students had been working on shapes in our math program so I cut out 2d shapes for them to integrate into their art. You don’t need to provide any stencils or tracers like this, but my students did enjoy using them and it helped some children create their designs.
Creating Your Print
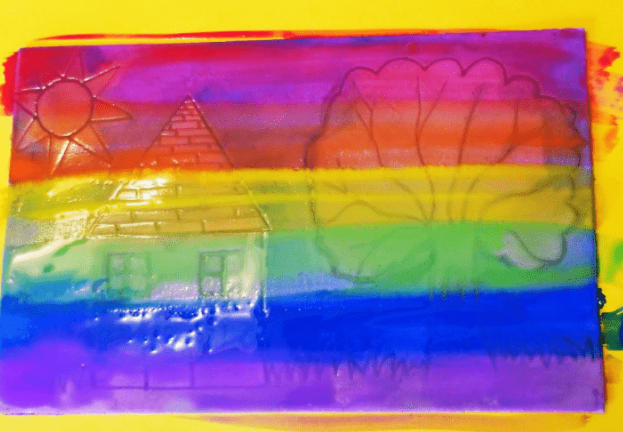
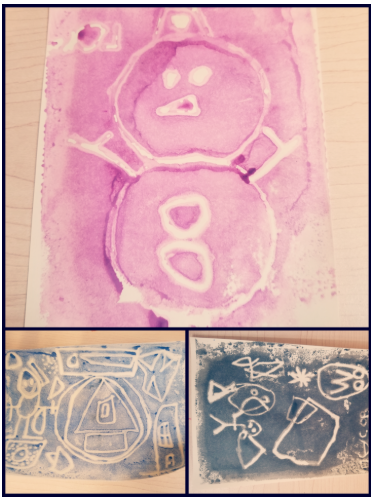
Once you have your materials ready, you can begin creating your print. Start by deciding on an image you want to make. It can be anything! Use a sharp pencil to begin drawing on the foam page. You need to make sure to press hard so the picture is fairly deep in the foam sheet. You don’t want to poke a hole through the foam sheet, but the deeper the better. Make sure when you run a finger over your picture on the foam page that you can easily feel the marks.
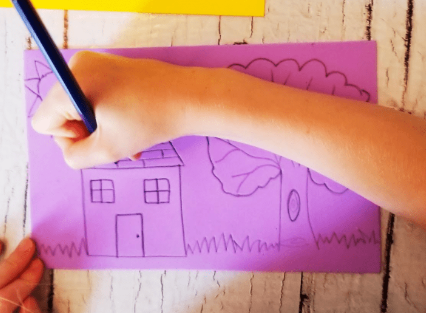
The more of your foam sheet you fill, the better. Add details and lots of pictures. The only thing to avoid are letters and words. When you create your print, the letters will be flipped.
Once all of the page is done and the picture is drawn, decide which colors you want to make your print. Water colors work well for prints because you can easily spread them across the page and it stays wet for a minute or two. You want to make sure whatever paint you use doesn’t dry on the page before creating the print.
Easy Printing Craft for Kids
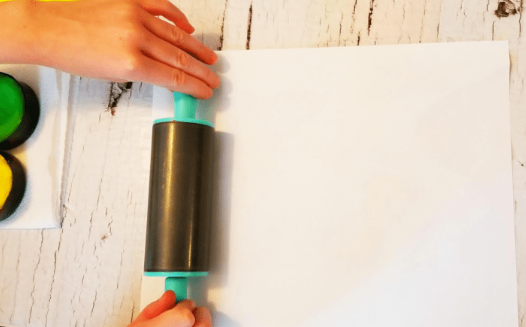
Once the paint is covering your foam picture, set a piece of cardstock on top of the foam page. Then use a rolling pin to press and roll over the print. Make sure to press all edges of the foam page and press hard enough so that the paint transfers. Don’t press too hard or the paint on the foam will all just squish together.
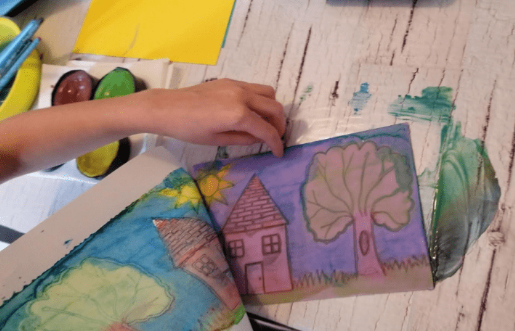
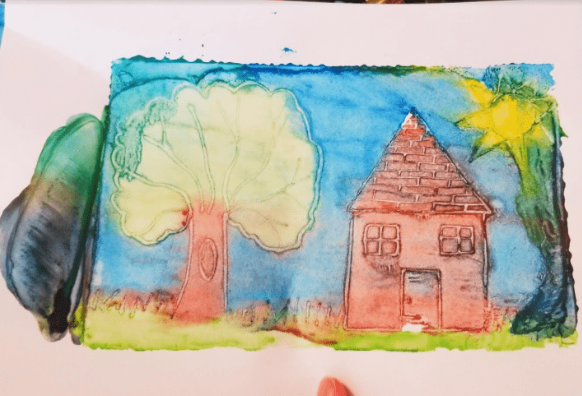
Once you have fully rolled over the print, carefully peal the cardstock off of the foam page. You will end up with a beautiful print! Printmaking is never perfect. Some of the paint will likely squish out the sides, that’s okay. When dry, you can cut your print out.
One of the great things about printmaking, and my students favorite, is that they can make several images! You’re not done with just one print. Children can rinse their foam page off and create another image. They can try different colors for the second, third or forth print.
Printmaking Copies
You can also get your pencil out again and add any details that you felt were missed and then cover in paint and do it again. Copy the print as many times as you choose to. As children create different prints, they’ll begin to see what works best when creating. If you have time, let them create a second image on a few piece of foam.
This project is a great way to introduce children to a form of art that most people don’t ever get the opportunity to try. It gives them a great idea of what printmaking is all about and how challenging it can be for artists.
For more craft ideas that I have used in my own classroom, check out the Best Recycled Paper Art for Kids and a DIY Easy Clay Vase Craft for Kids. These projects both use simple materials and turn them into a beautiful piece of art. They also provide kids with a great artistic experience.