This post may contain affiliate links.
I love fall and everything to do with pumpkins. Every fall leading into Halloween, I always bring a bunch of pumpkins into my classroom. With these pumpkins there are endless activities you can do related to science, STEM, math and more! This free pumpkin science experiment uses pumpkin seeds and guts and compares how different environments affects changes in the seeds.
One year I placed a pumpkin in a clear bin and we watched as it broke down and went moldy. It was a great science experiment and learning experience for my students. Kids always love this experiment so I created an extension of it with even more learning. This pumpkin seed science experiment is simple to set up and can be done at school or at home.
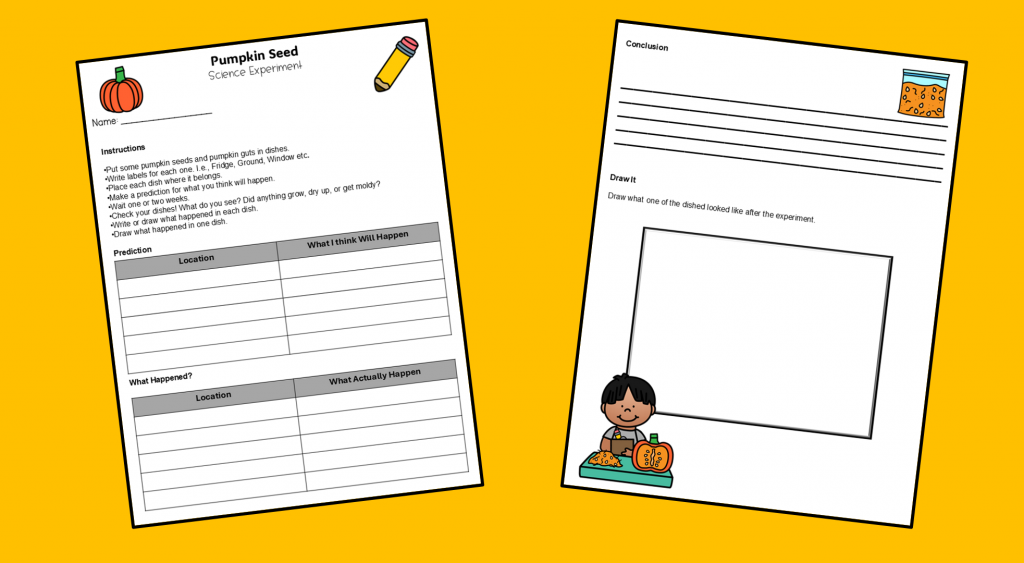
Since I did the project at school, I also created a printable worksheet to extend the learning. The worksheet is included for free, in color and black and white below.

If you’re looking for more fall and STEM activities, check out Fall STEM Activities from Teaching Ideas, or look through the popular collection of over 60 of the best STEM activities.
Pumpkin Seed Science Materials
There are not a lot of materials you need for this experiment, which makes it perfect for the classroom. You will need:
- A Pumpkin
- Petri Dishes
- “Pumpkin Seeds” worksheet
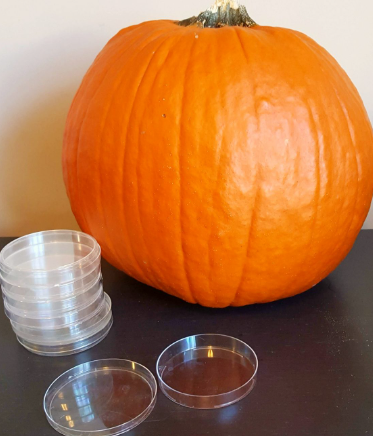
I had access to petri dishes at my school and they were perfect for this experiment. I also love using ‘real’ science materials because it’s a great introduction for kids and makes them feel like real scientists. However, if you don’t have access to petri dishes, plastic baggies will also work for the experiment.
The worksheet is available, for free at the bottom of this post. Subscribe to Play Learn Inspire through Grow and the file will download right away. Make sure to grab the freebie today!
Once you have the materials, start by opening your pumpkin and digging out the seeds and guts. Place them aside. Discuss with children what they think will happen if you put some of the seeds in the soil outside, or in the fridge. Ask them if they think changing the location would make a difference for what will happen to them.
Place a spoonful of seeds, and pumpkin guts into five petri dishes. Close the dishes and then place them in different locations around your home or classroom. Consider different elements for the seeds and guts to react to.
Some options are:
- A Fridge
- A Freezer
- Somewhere Warm
- Somewhere Dark
- Somewhere with Sunlight
- In Soil
Have children brainstorm different locations they want to put their seeds. Try to choose five different environments so that kids can compare.
Pumpkin Science Results
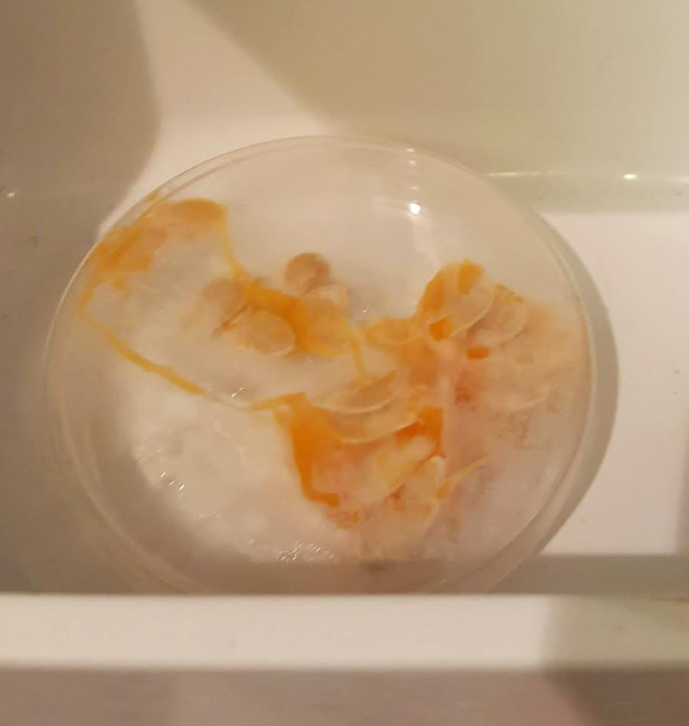
Place each dish in the location and wait 1-2 weeks. When I did this with my class, we peeked at the dishes after one week and then put the dishes back. We then took them out and compared them to each other after 2 weeks.
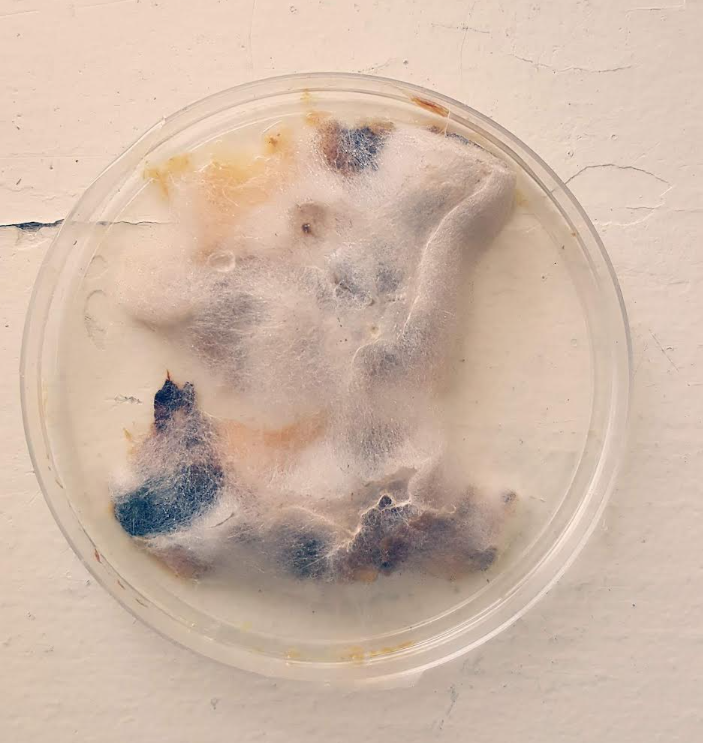
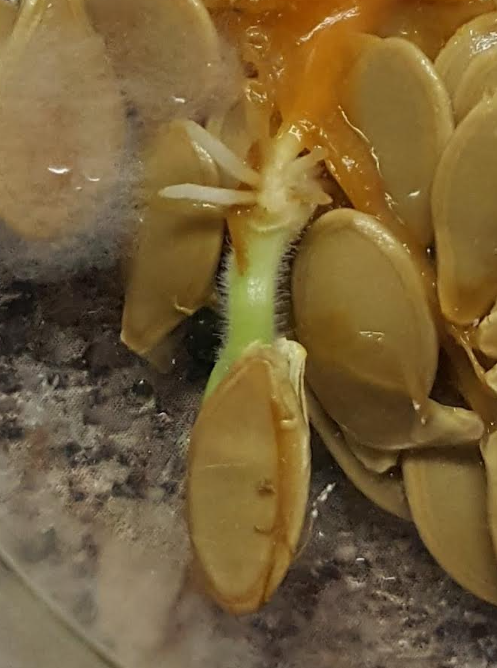
Hopefully you see lots of changes after the weeks so that you can discuss why there are differences. Our seeds that were in warm sunlight grew the best and one seed actually sprouted. The seeds in the freezer did not change at all. The seeds that were in the warmest places actually started to grow mold/fuzz.
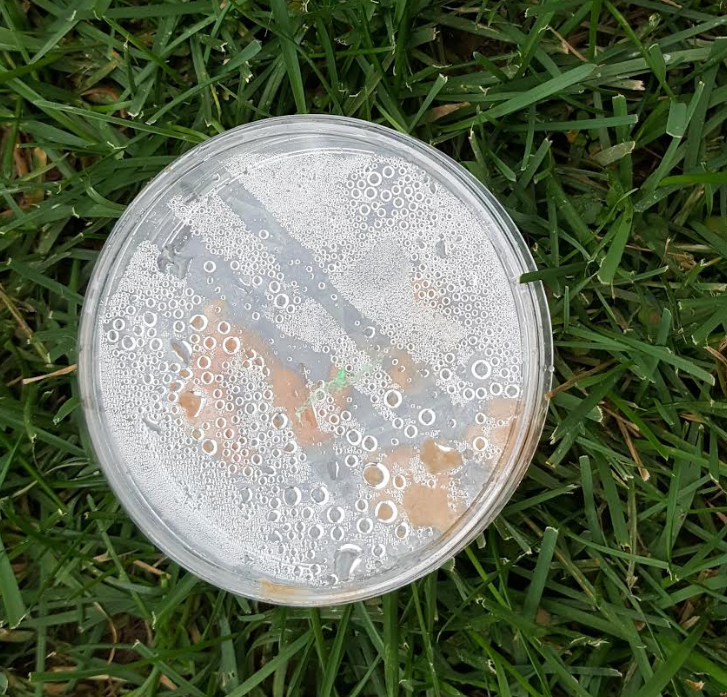
Discuss with children why they think these changes occurred and which location(s) were the best for growth. Children may notice changes beyond what happened to the seeds. They may notice condensation on the dishes in the ground or frost/ice on the dishes in the freezer.
Download the Free Pumpkin Science Experiment Here
Grab the free pumpkin science experiment worksheets by clicking below. Subscribe to Play Learn Inspire through Grow and unlock this freebie, and all other freebies on this site. These worksheets are ideal for classroom, homeschool or individualized learning. Once you subscribe the file will download for you right away.
After you subscribe, you will receive emails with Play Learn Inspires latest activity ideas, promotions and freebies.