This post may contain affiliate links.
Paper mache is inexpensive, great for all ages and there is endless potential for what you can create. I remember making paper mache as a child and although it can get messy, I wanted to try some paper mache art for kindergarten. I’m so glad that I did because it ended up being a huge success!
It was such a success with young children, that I know this activity would be perfect for children of all ages!
Paper mache is easy to use and you only need a few household ingredients. It’s safe for kids to handle and the projects you can make from paper mache are solid and beautiful.
I wanted my students to make something that was simple, but also something unique to each of them that they could hold onto for a long time. Each child created the first letter of their name using paper mache. It was messy and memorable!
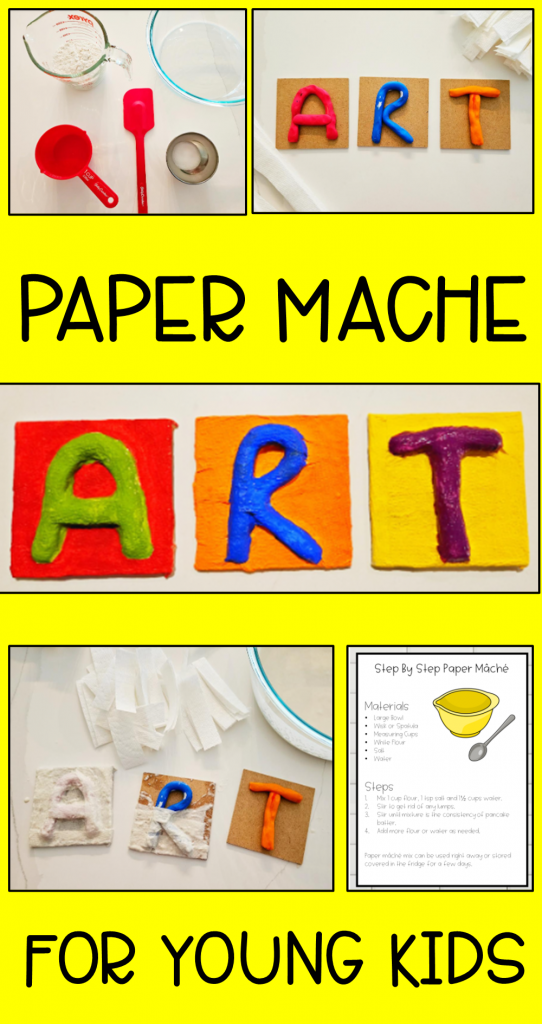
Below are the paper mache instructions for the project that my 25 kindergarten children did.
For more paper mache ideas check out, Simple Paper Mache Ideas and How to Make Paper Mache Art.
Paper Mache Ingredients
One of the things I love about paper mache is you only need flour and water to make the paste. I add a bit of salt to help it last longer, but the ingredients are simple and kid friendly.
Paper mache paste. You will need:
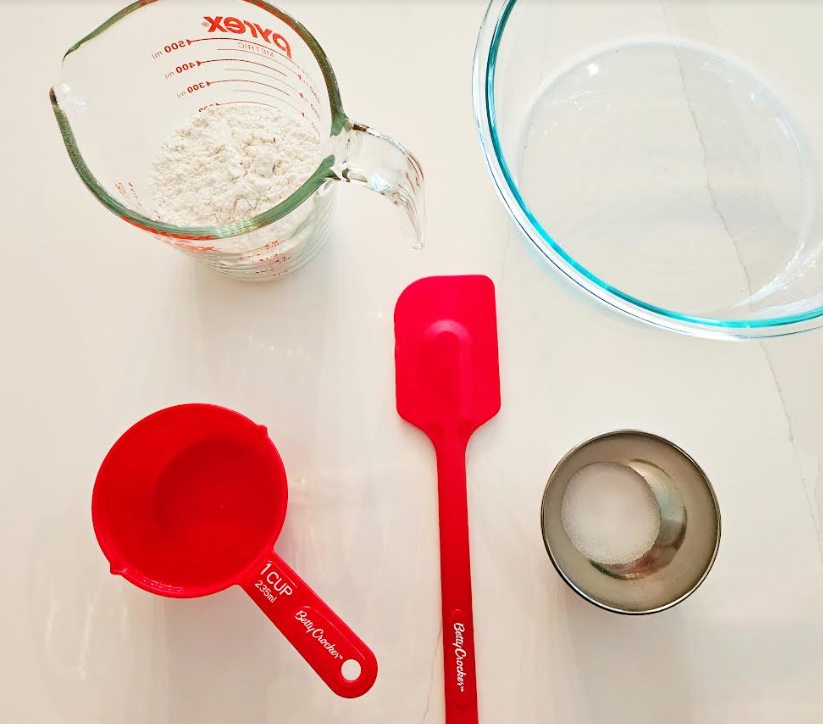
- Flour
- Water
- Salt
- Measuring Cups
- Large Bowl
- Spoon
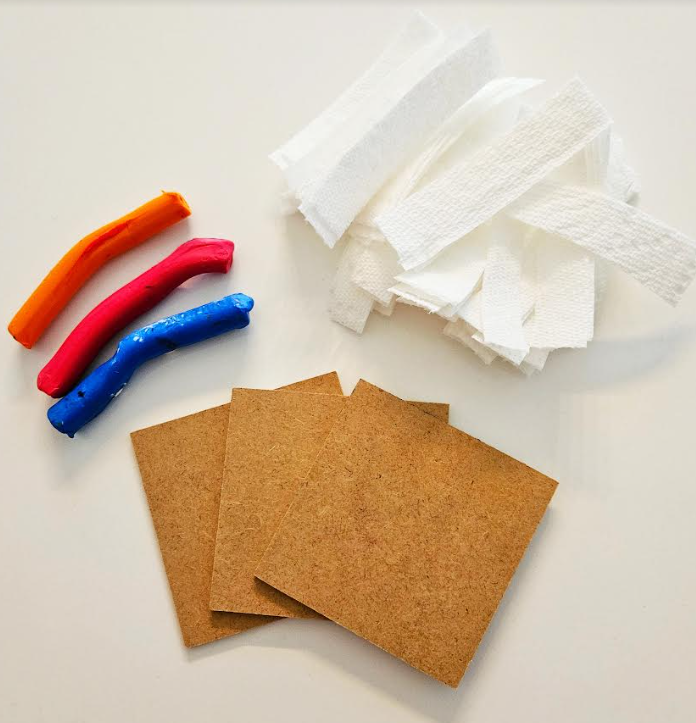
To create with the paste, you will need:
- Paper (Paper towel, toilet paper, newspaper etc.)
- Plasticine
- Wooden Squares
Paper Mache Art for Kindergarten Paste
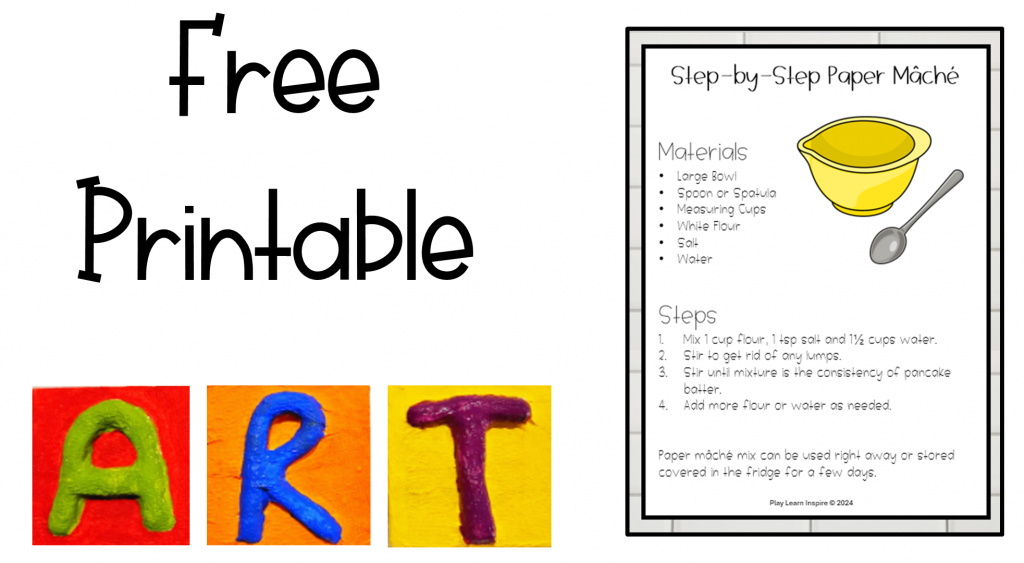
Start by adding 1 cup of flour, 1 1/2 cups of water and 1 tsp of salt into a bowl and mix. Stir until there are no lumps and the mixture is the consistency of pancake batter.
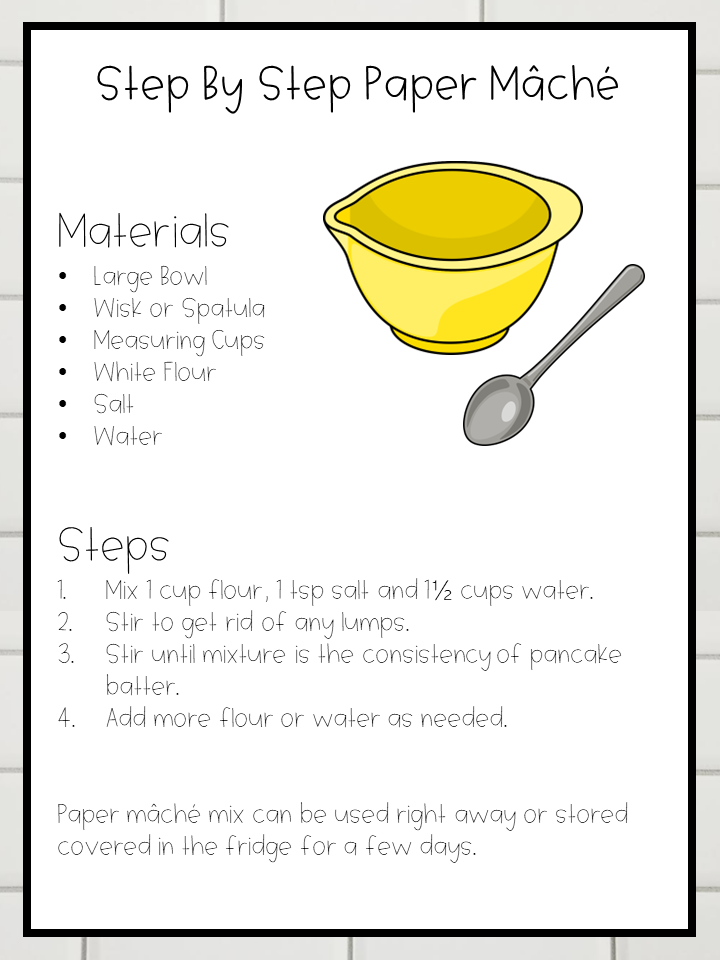
Your mix is ready to use. Below are the instructions for children to create a paper mache letter for their name. For other paper mache ideas check out 17 Best Paper Mache Ideas.
Paper Mache Art for Kindergarten Letter
Give each child a wooden square. It can be any size. Avoid a really small piece because it will be hard for children to get the paper mache around the letters properly. At least 3 inches tall and long.
You can use cardboard if you aren’t able to find wooden squares, but the cardboard can get very wet with the paper mache and not hold its shape.
Next, each child forms the first letter of their name using the plasticine. I created the word ART for the example, and you can create any word(s) or letters you wish.
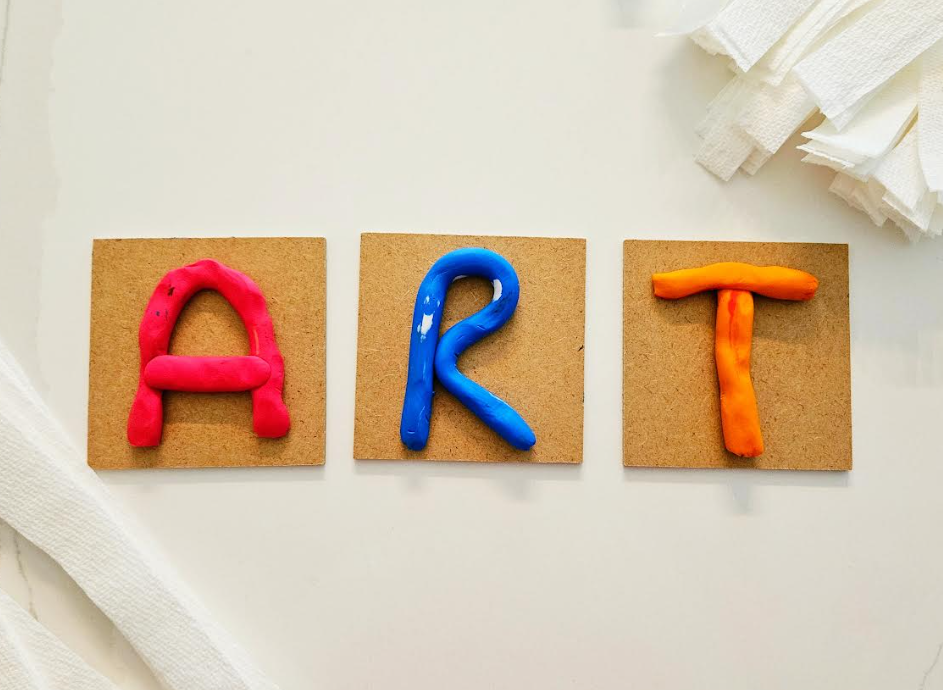
Next, make sure your paper is cut into thin strips. You can use any type of paper you want. I often recycle paper for these projects.
Dip the paper into the paper mache and peel off any excess paste, as pictured below. Make sure the paper is wet and all parts have some paste on them, but it should not be dripping off.
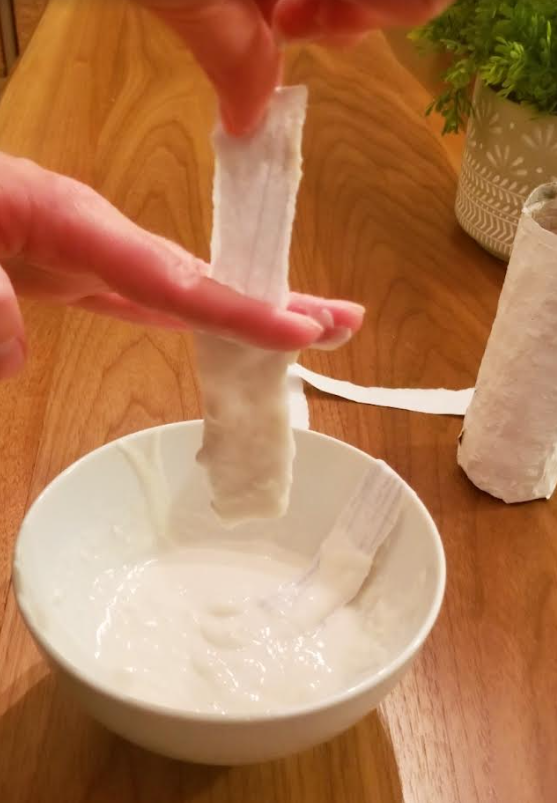
Paper Mache Art
Place the strip of paper onto your square board. After each piece is on the square press around the letter to form each letter and make sure the shape of the letter remains visible.
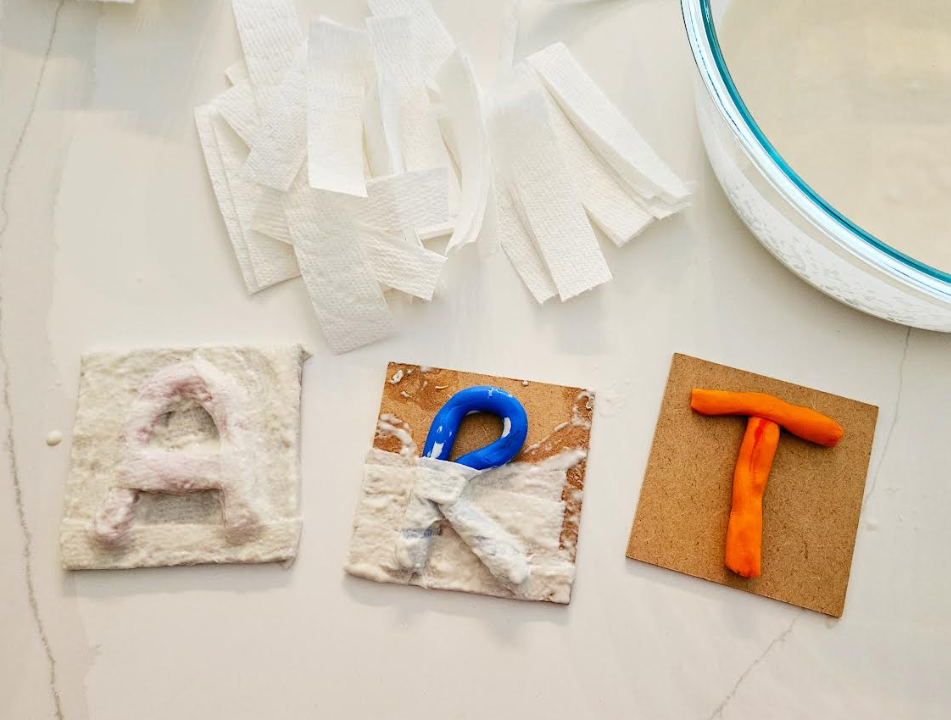
Make sure all parts of the square board and the letter are covered. (The back does not need to be covered). Once all letters have been formed, leave to dry.
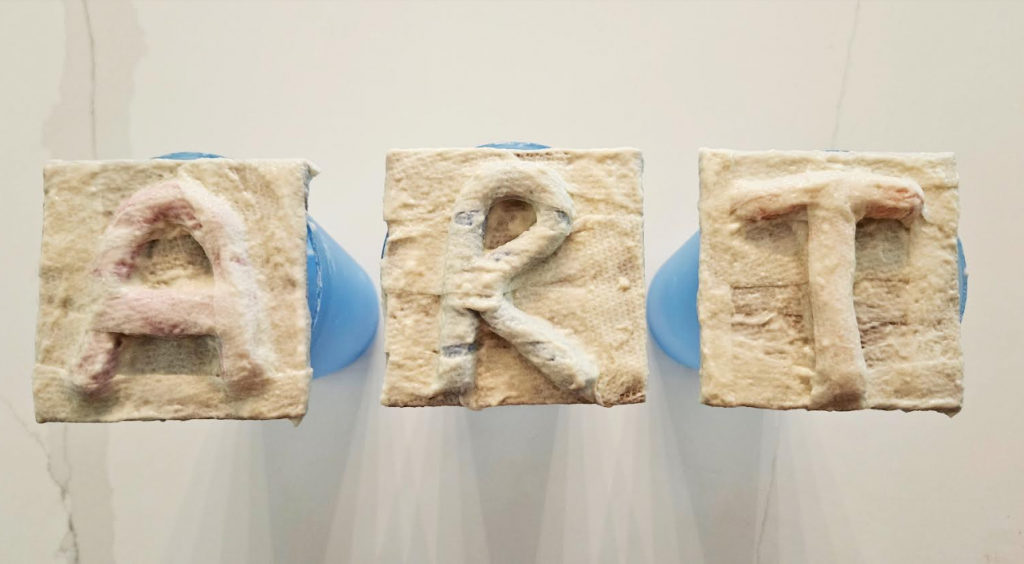
The paper mache usually dries in 24 hours, however, depending on how thick the mache was placed and the temperature of the room, it may take longer.
Generally for this project, I found that one layer of paper mache is enough. If you choose to do several layers, make sure to have each layer dry before putting on a second layer.
Paper Mache Art for Kindergarten Painting
Once dry, you can paint a layer of white on your paper mache. This helps the colors you later put on stand out more.
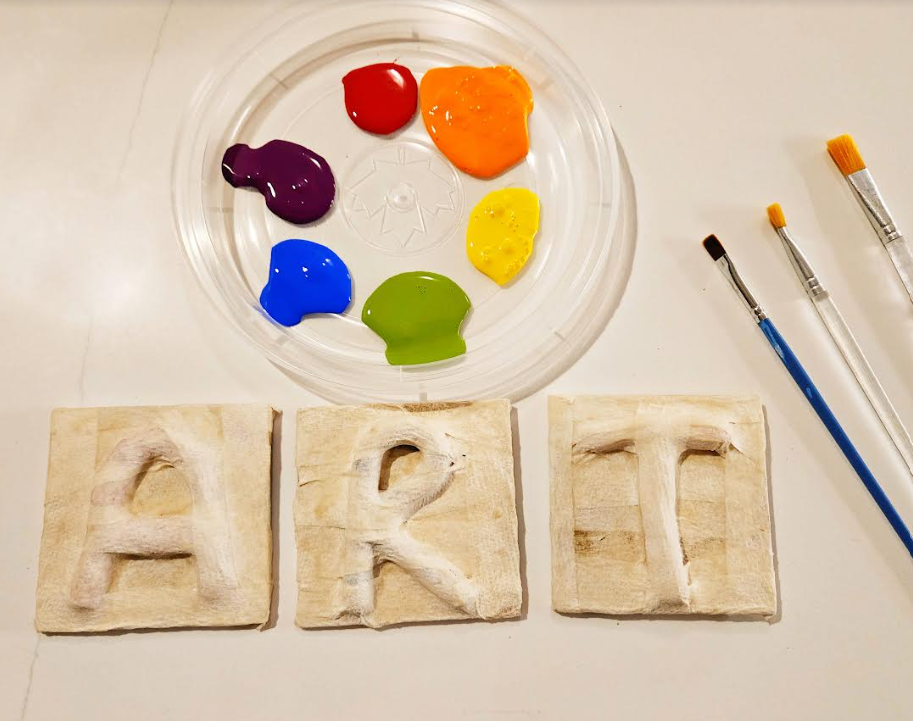
Start by painting a background color around the letter. Leave the letter unpainted at this point.
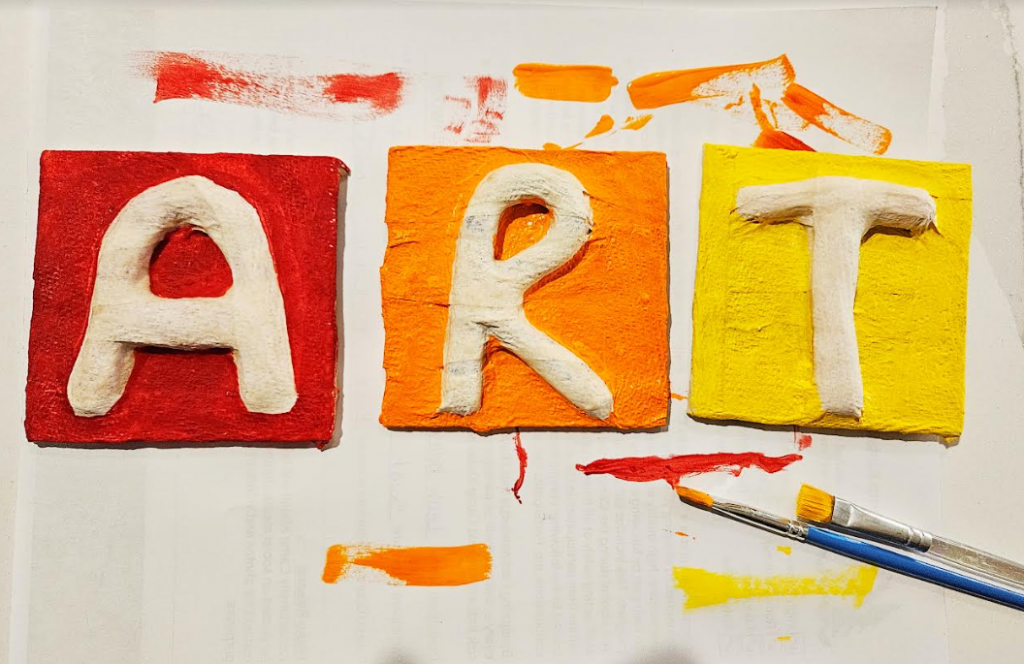
Once the background color is painted, it’s time to paint each letter.
You can paint your paper mache art any way you like. I encouraged my students to paint their letter a different color to help make it stand out and to help focus the activity.
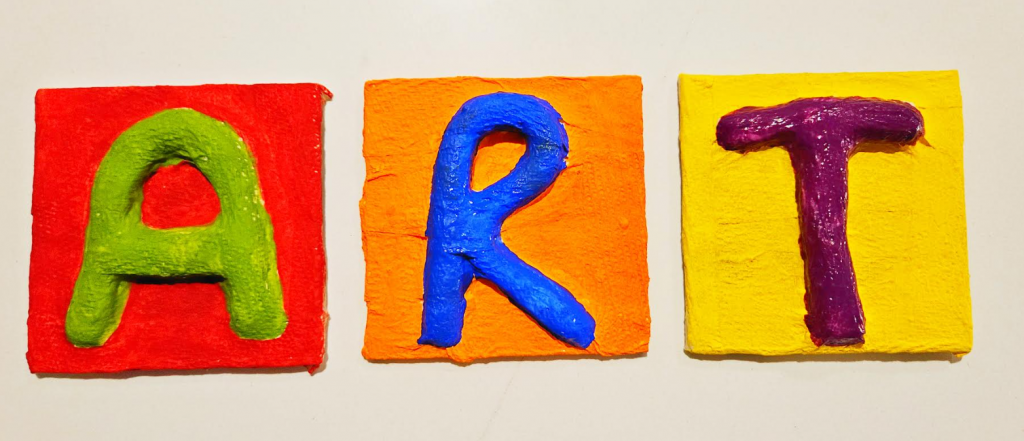
Once painted you can add details to the letters and the paper mache.
Paper mache is very hard and solid once it is dry. It can last for many years as long as it does not get wet or damp.
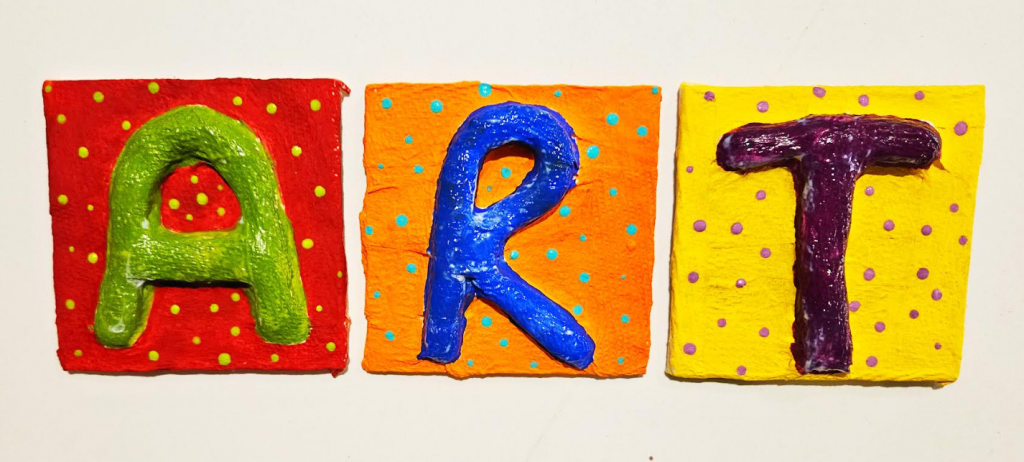
Once you have added lots of details and your paper mache art is exactly how you want it, I recommend adding a layer of gloss that can also help seal the art.
Join Play Learn Inspire
The instructions for how to make paper mache are included below. You can print and have them on hand as you create.
Sign up and download the printable today!
FREE End of the Year Memory Book
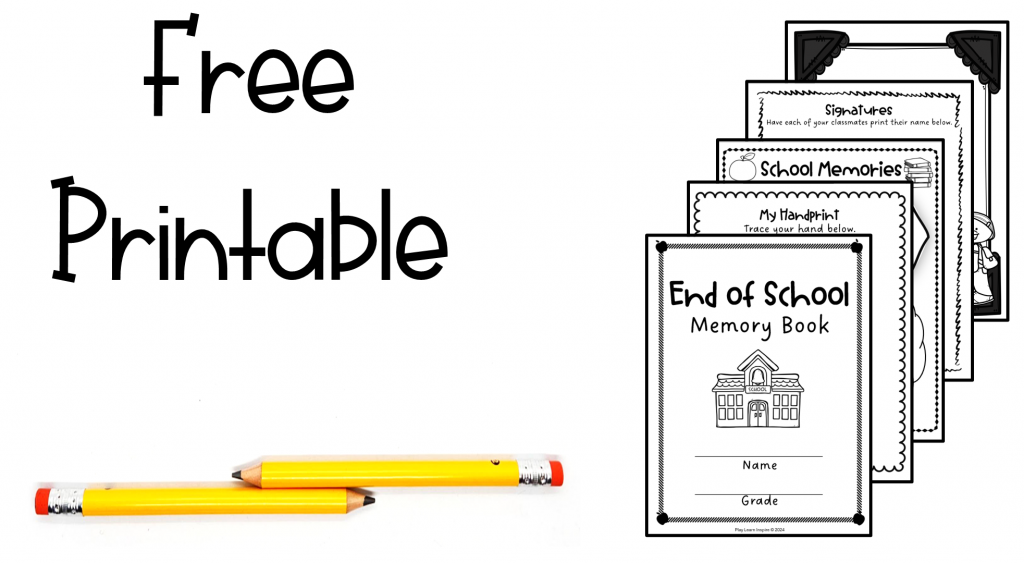
If you’re looking for more activities as you head into the summer, check out a free printable memory book for young children. It’s a great, and easy way to document lots of memories from the year.

Comments
One response to “Paper Mache Art for Kindergarten and Kids(Free Printable Recipe)”
[…] You can make virtually any shape or form you can think of. You can use aluminum foil to cover objects, or you make any shape out of paper and cardboard and then cover it in paper mache. When it dries, paint it and you will have some amazing art. You can find instructions for how to do all of these ideas below. For a free printable recipe and a great ideas for using paper mache with young children, visit Paper Mache Art for Kindergarten. […]